[2020-03-22: Part 3 is now available.]
In part 1, I talked about some of the equipment in my home office, and the minor changes I was working on but that were delayed by a shipment error. I'm happy to say that all the (correct) parts for my Uplift fixed height standing desk are here!
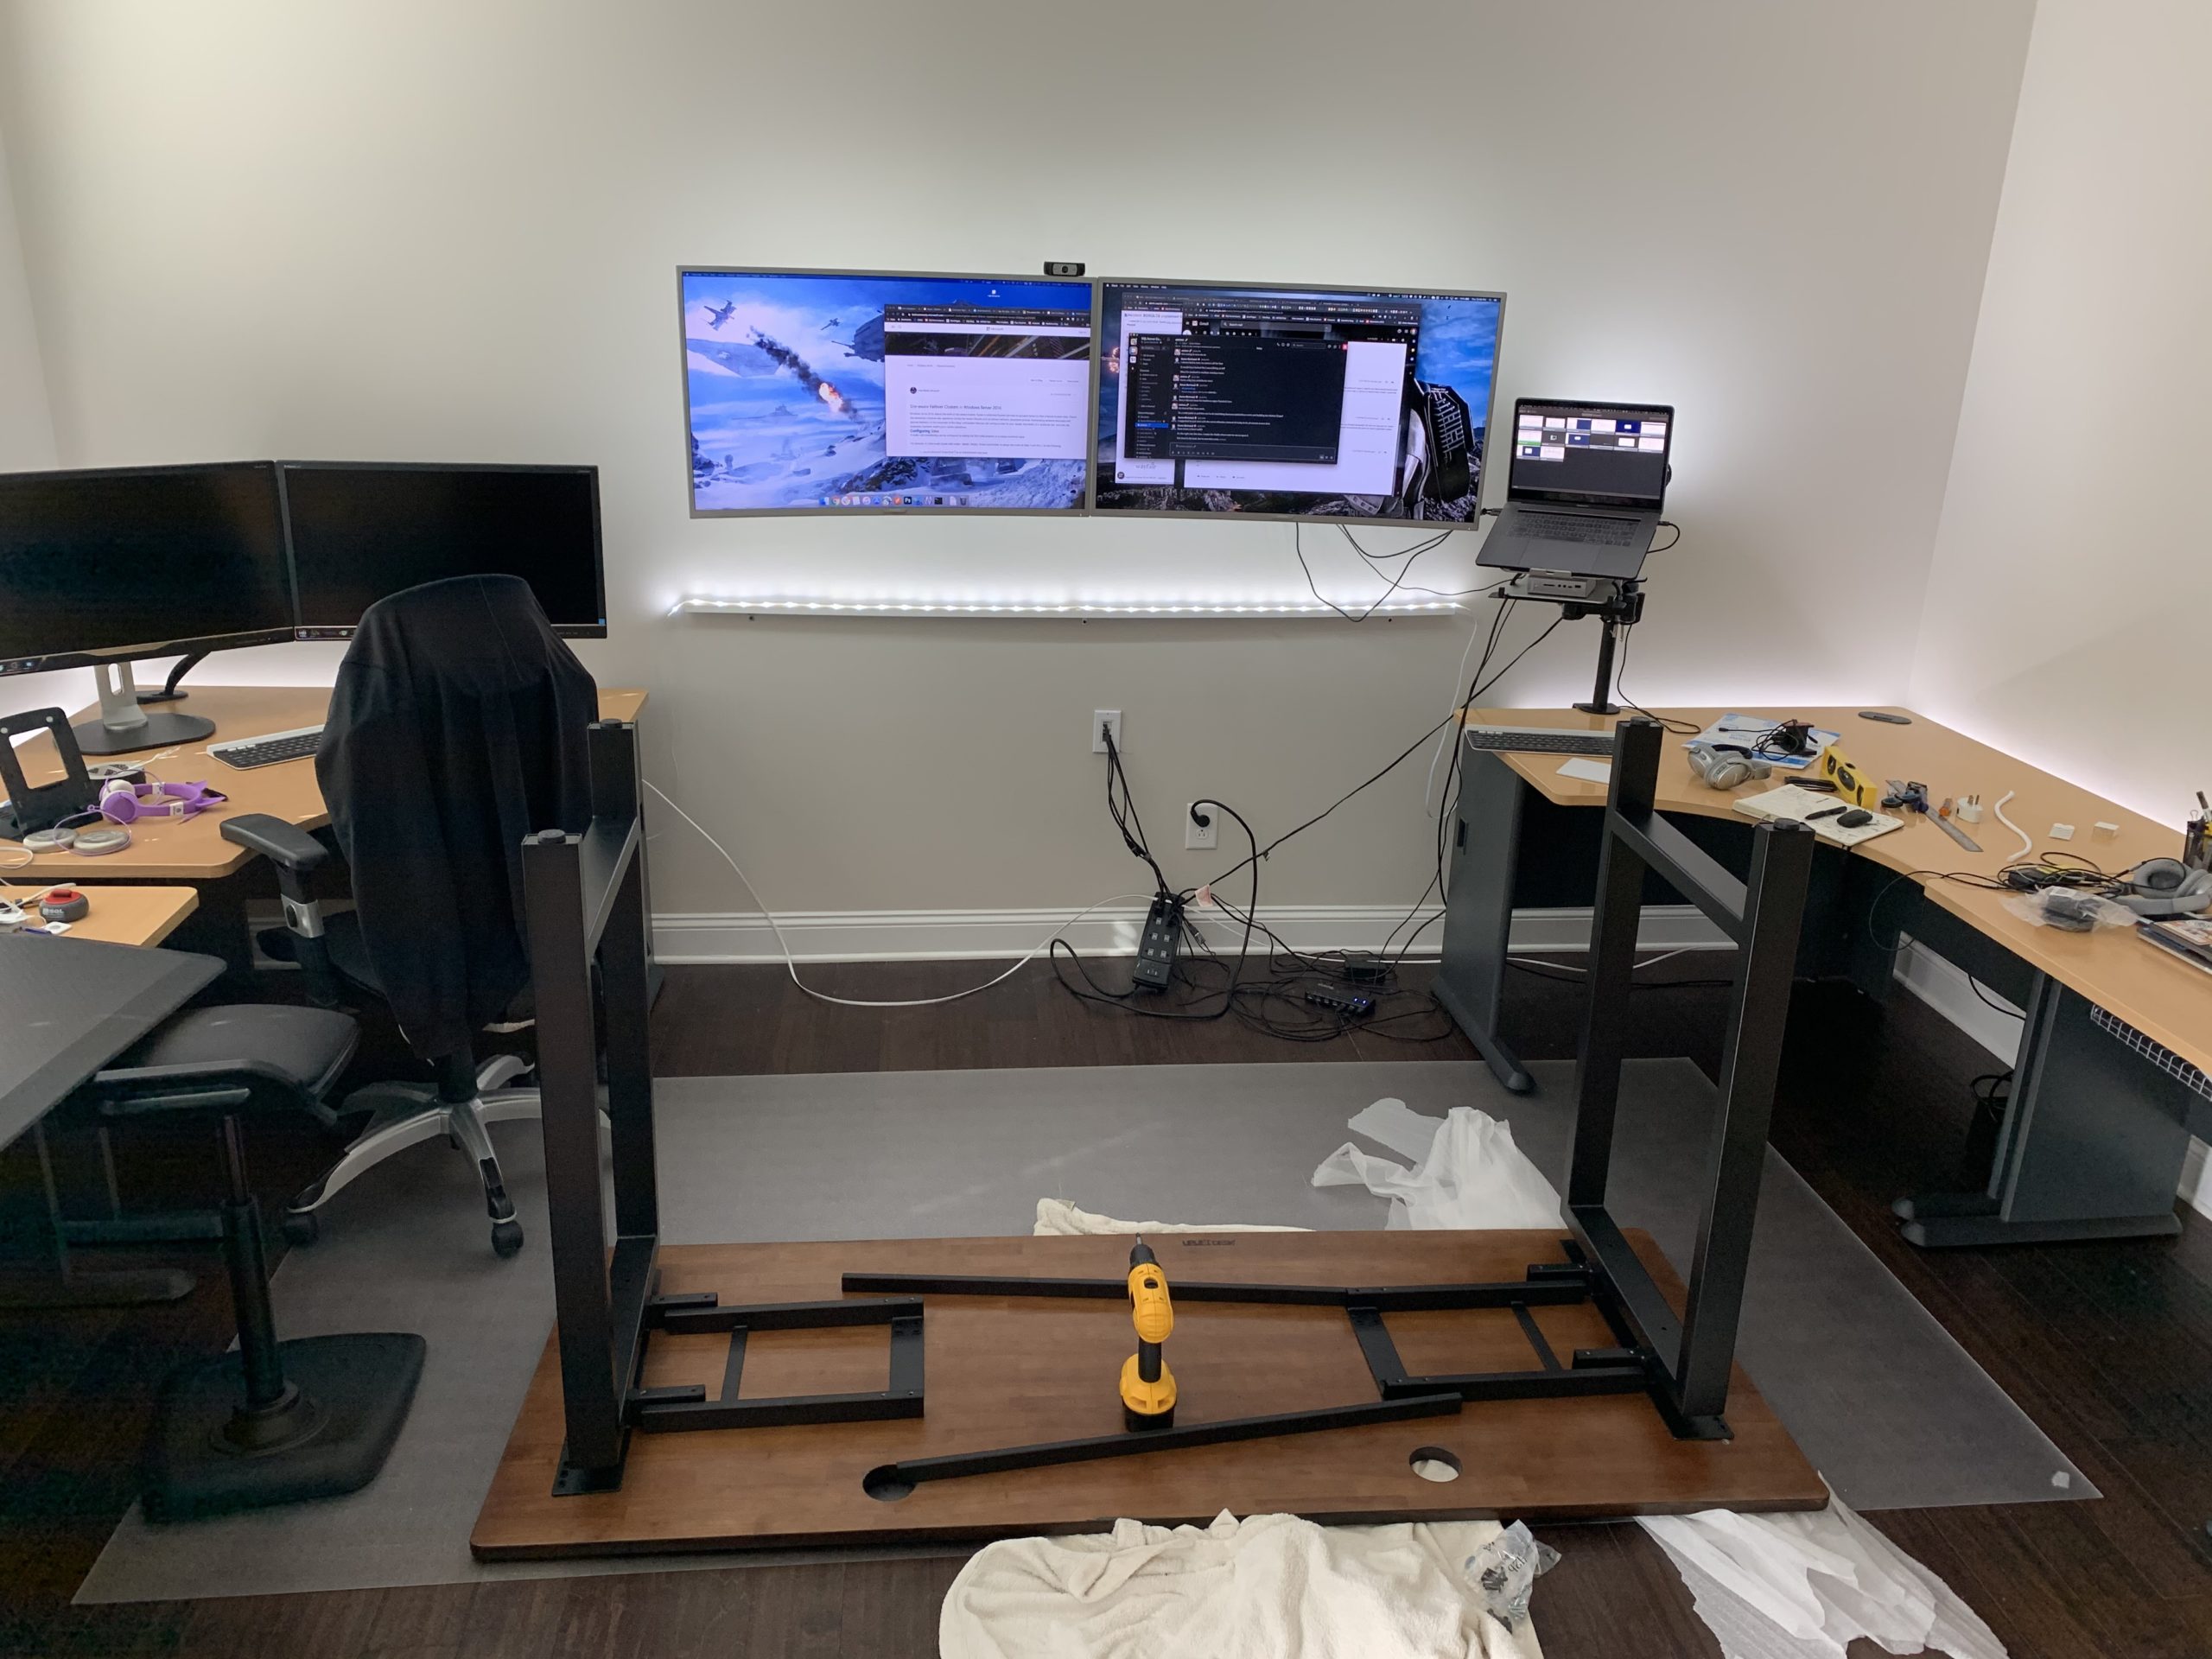 Assembling the desk was quite easy, except I ultimately had to add a dampener to stop some vibration noise between one of the leg stands and the surface. I used a thin rubber washer, but cardboard or folded duct tape could have worked in a pinch. I thought about calling support but in this case the home remedy was faster, easier, and more effective than waiting for replacement parts or for them to send me a washer, cardboard, or duct tape. At left is the start of assembly (yes, wires and other junk are still out and visible, because I needed to continue working while all this was going on, too).
I also ordered the Uplift modesty panel, but that's getting returned. It looked a lot taller in the pictures, but without even putting it on, I knew it just wouldn't cover the outlets and other things behind the desk. It also seemed a bit too flimsy to hold something heavy and bulky like a power strip, never mind discreetly. This may be a perfect solution for simpler wire management (like just hiding the cables that go from under your desk to your monitors), but I have slightly more complicated needs than that, because I am obsessive about clutter and do everything I can to hide every wire possible.
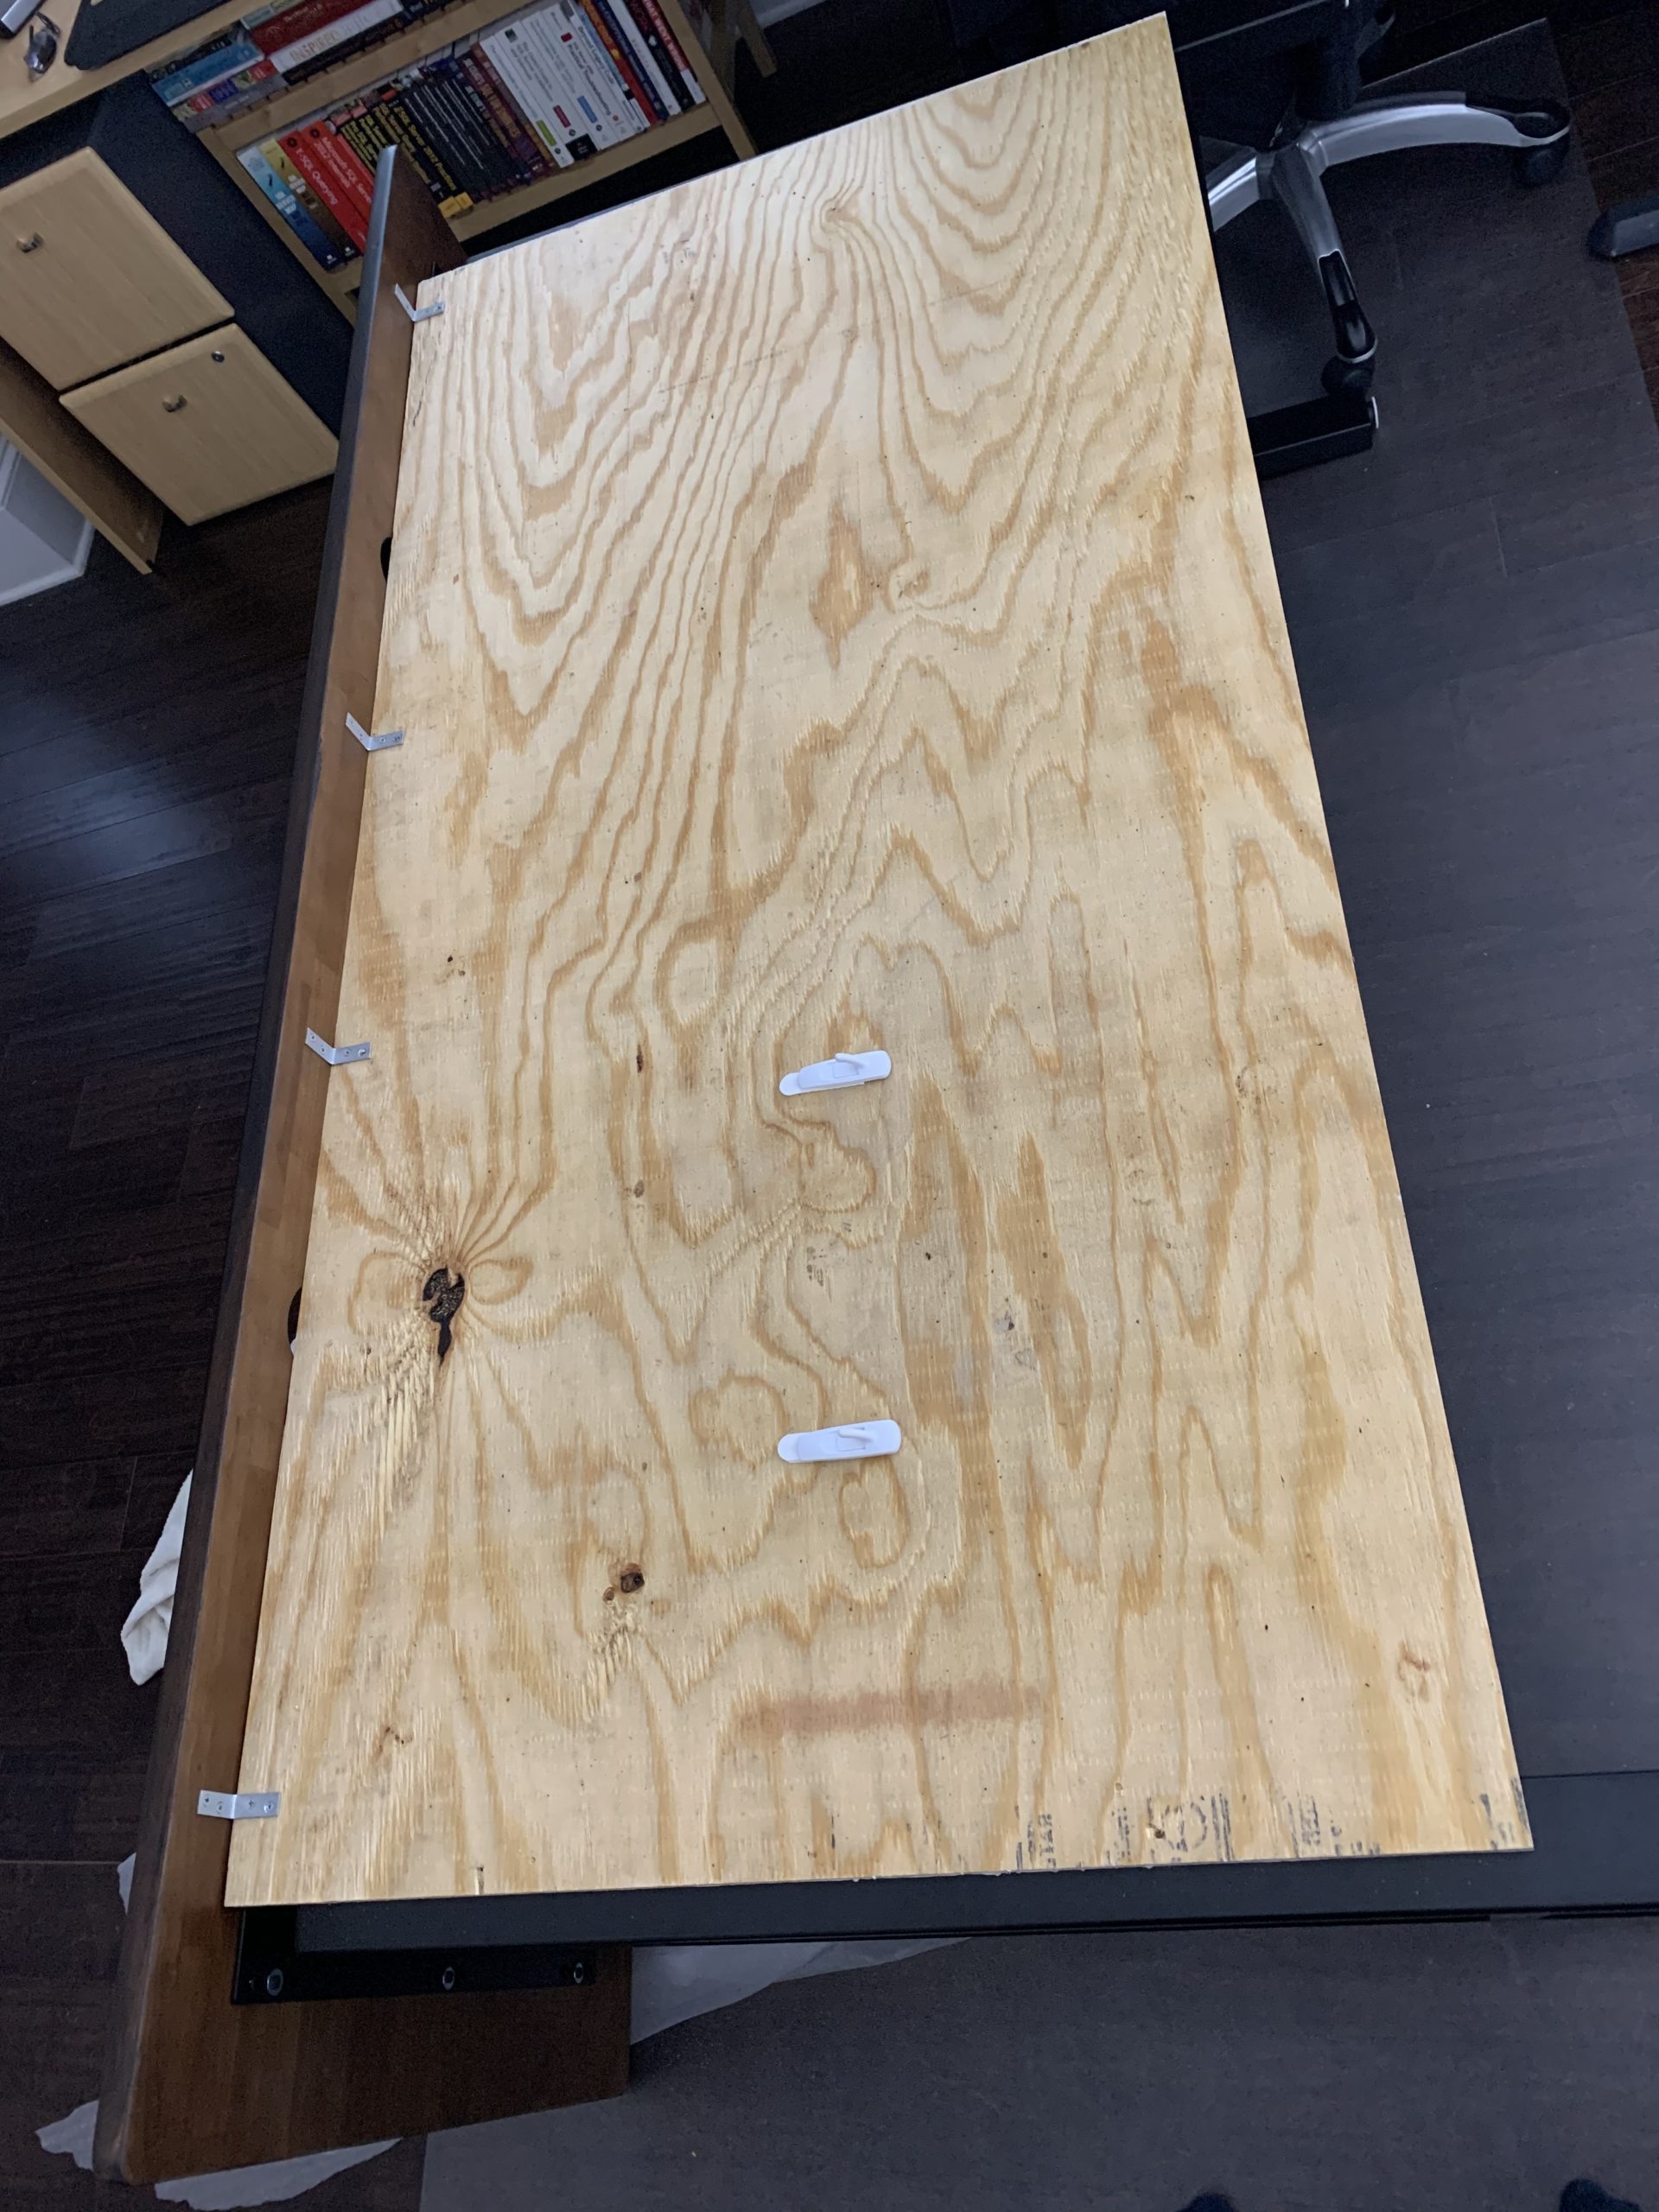
So, off to Lowe's I went. I bought a nice 4×8 piece of 3/4" plywood, and got them to cut it down to 67" x 34" to match the width between the leg frames, from the underside of the surface down to the height of the front-to-back crossbars. (I could have cut it, of course, but they're much faster.)
I left the back side raw, and painted the front side to match the wall paint (Sherman-Williams "Agreeable Gray"). I got a quart for a whole $2.50 because they mixed me flat instead of eggshell (¯\_(ツ)_/¯). I fastened the panel to the desktop surface, using slightly larger L-brackets than I used for the lightstrip shelves, and #6 1/2" wood screws.
I broke a drill bit trying to add extra support to the leg frame — that metal is thick and strong. I'll need to sort out a way to put a little lip on each leg just for the makeshift modesty panel to rest on. But it'll do for now.
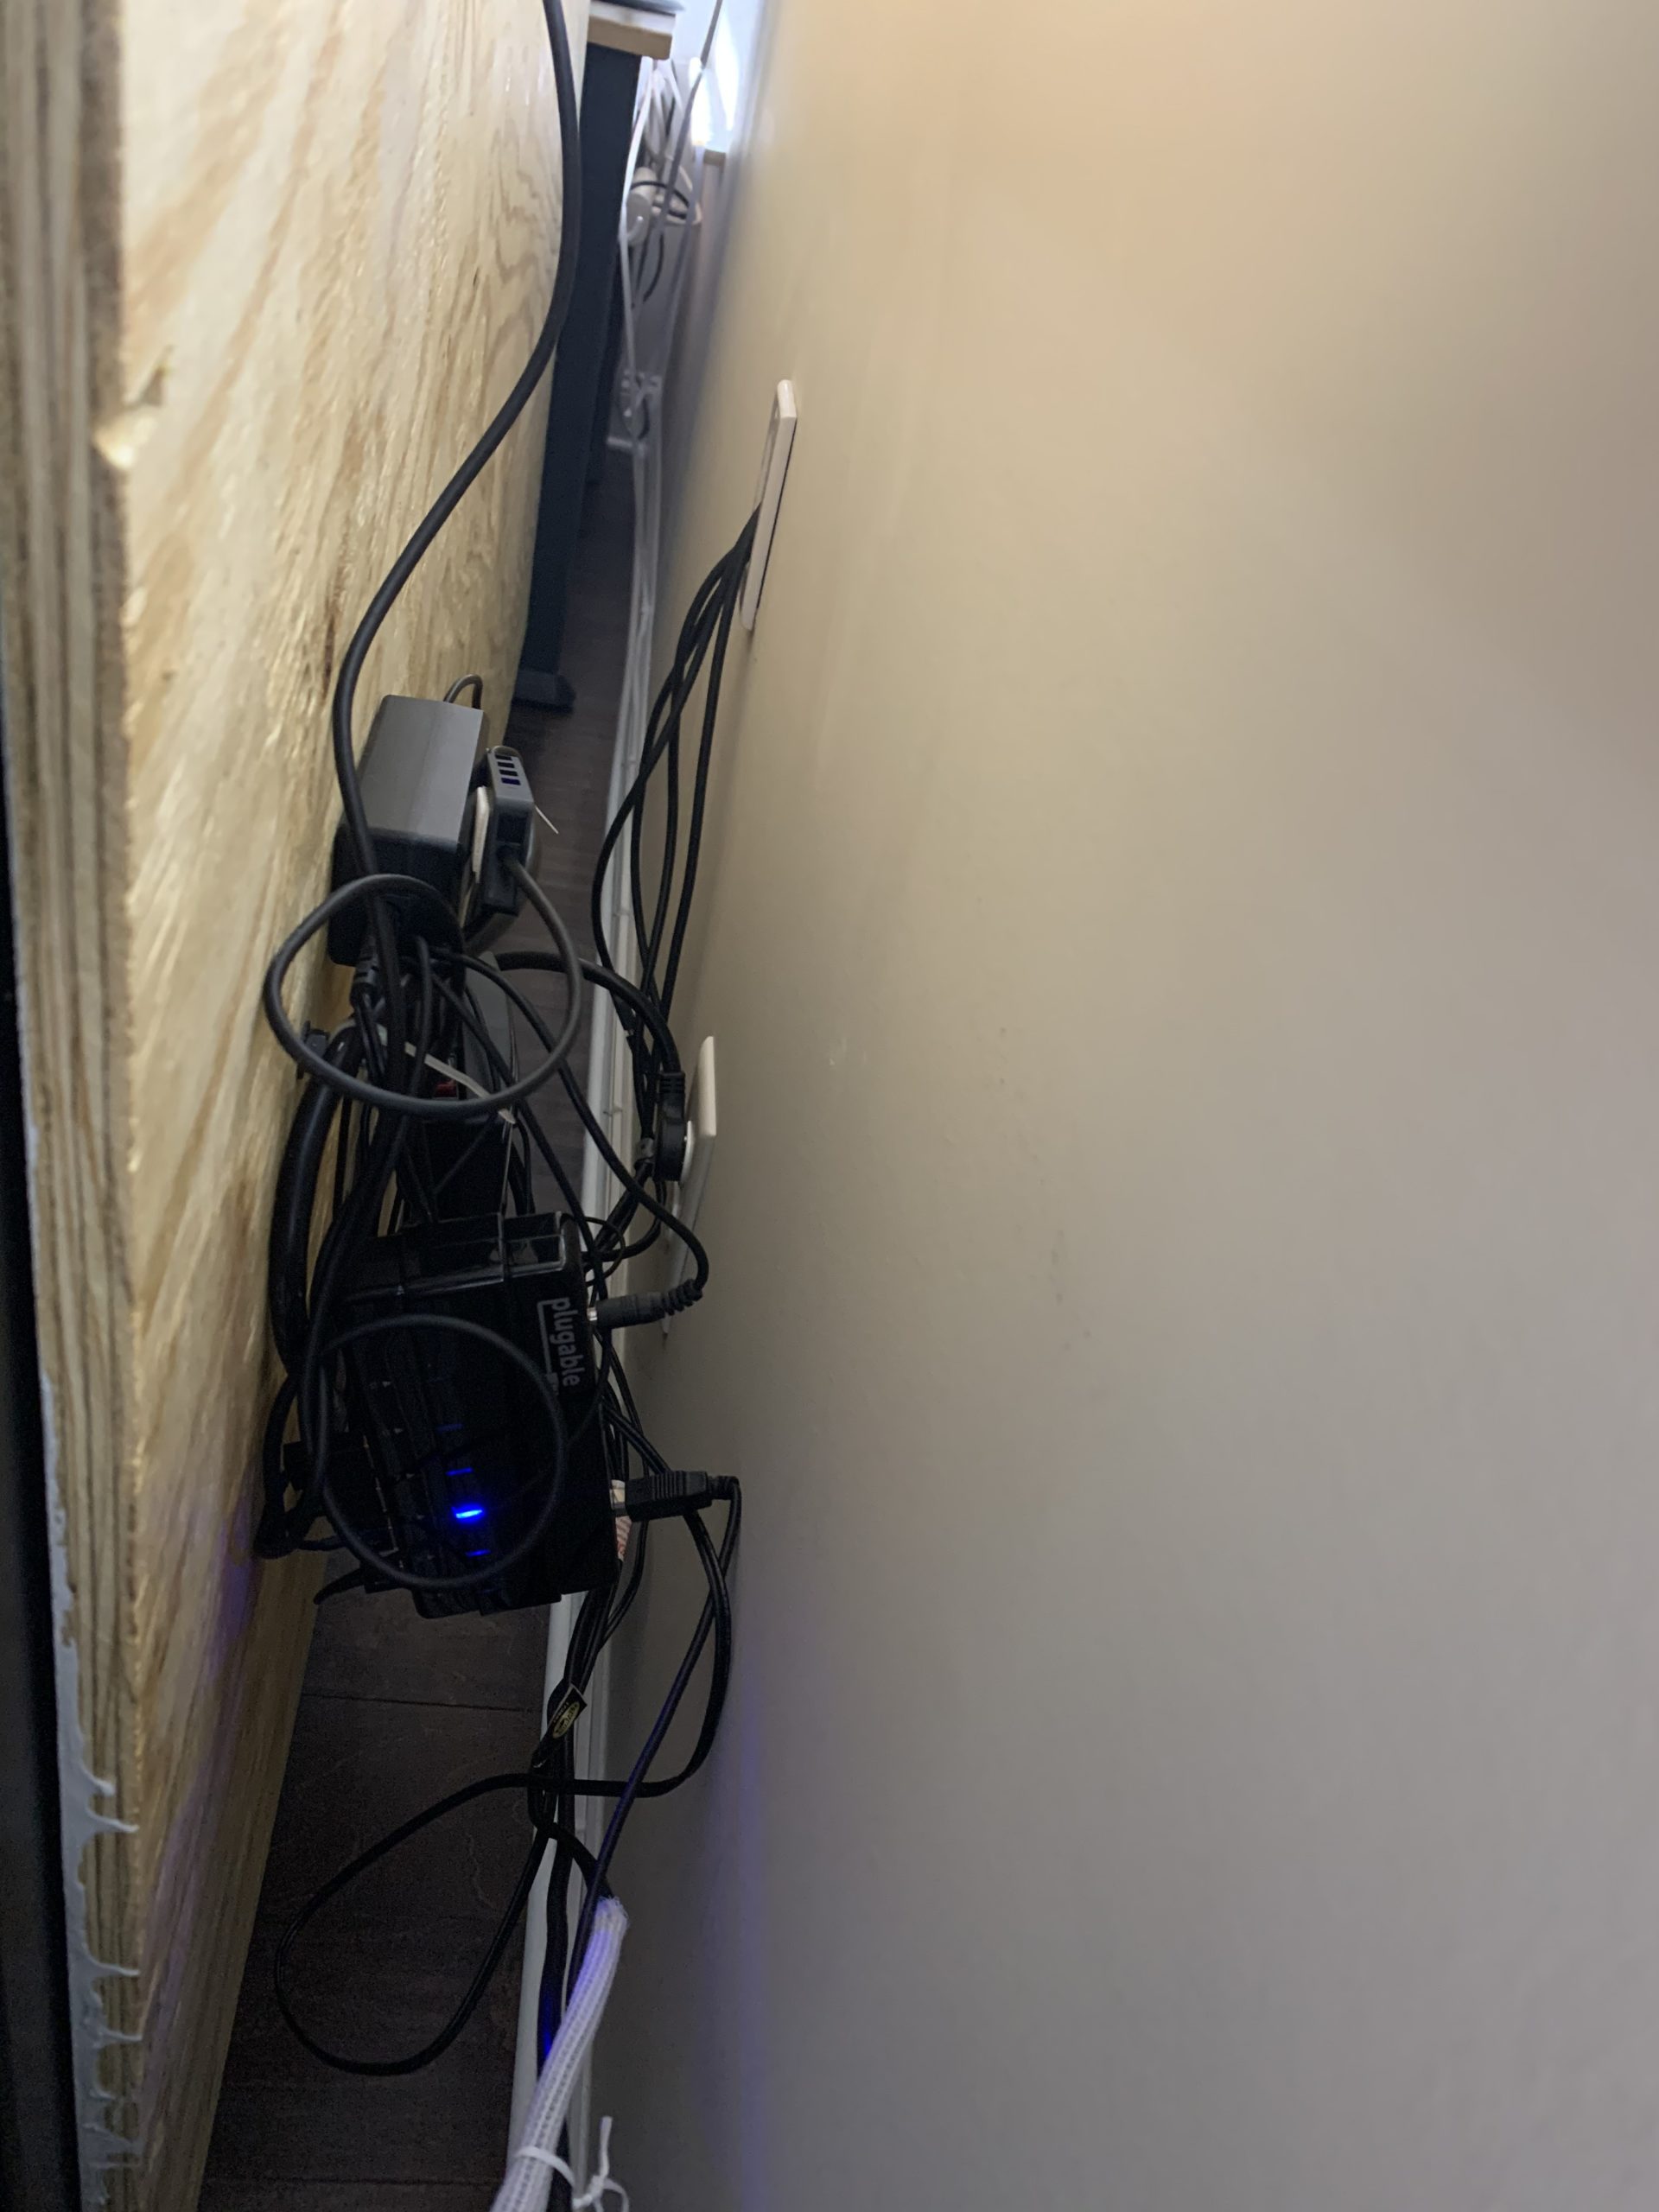 You'll notice I foolishly tried to use some command strips to hold up a power strip, USB hub, etc. on the back of the panel. That lasted all of about four seconds on that rough wood. So I drilled two holes to add some pegs on the back, painted the screw caps the same wall color, and coiled up this rat's nest of wires at left to hide everything behind the panel. I'm sure I'll get back to that at some point too, but it's actually not as bad as it used to be (part of the problem is I couldn't be completely without most of those cables for any length of time throughout this project).
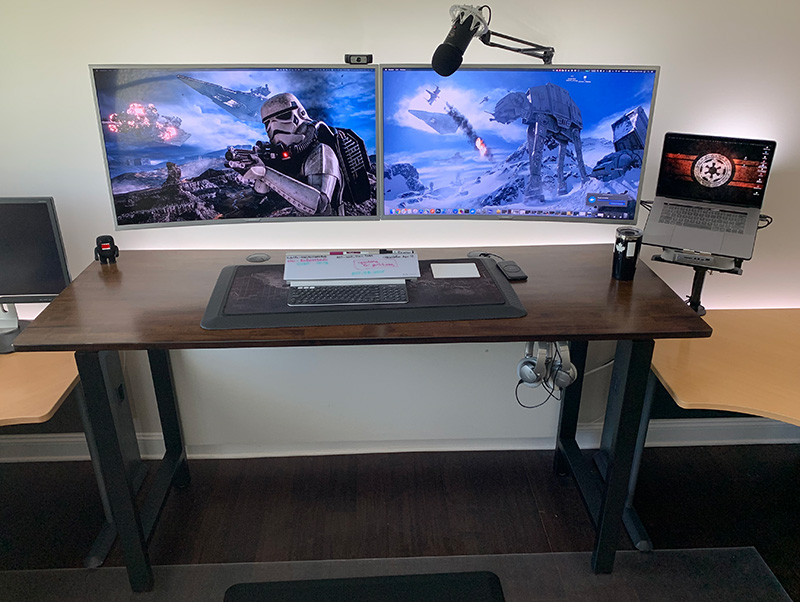
On the surface I added my (now spare) second standing mat and on top of this great gaming mouse pad to add extra cushion and dampening for keyboard and trackpad (maybe it will reduce wear and tear on the surface, too). Under that is this a more solid desk mat, with a front lip to protect the spot where I lean from wear and tear.
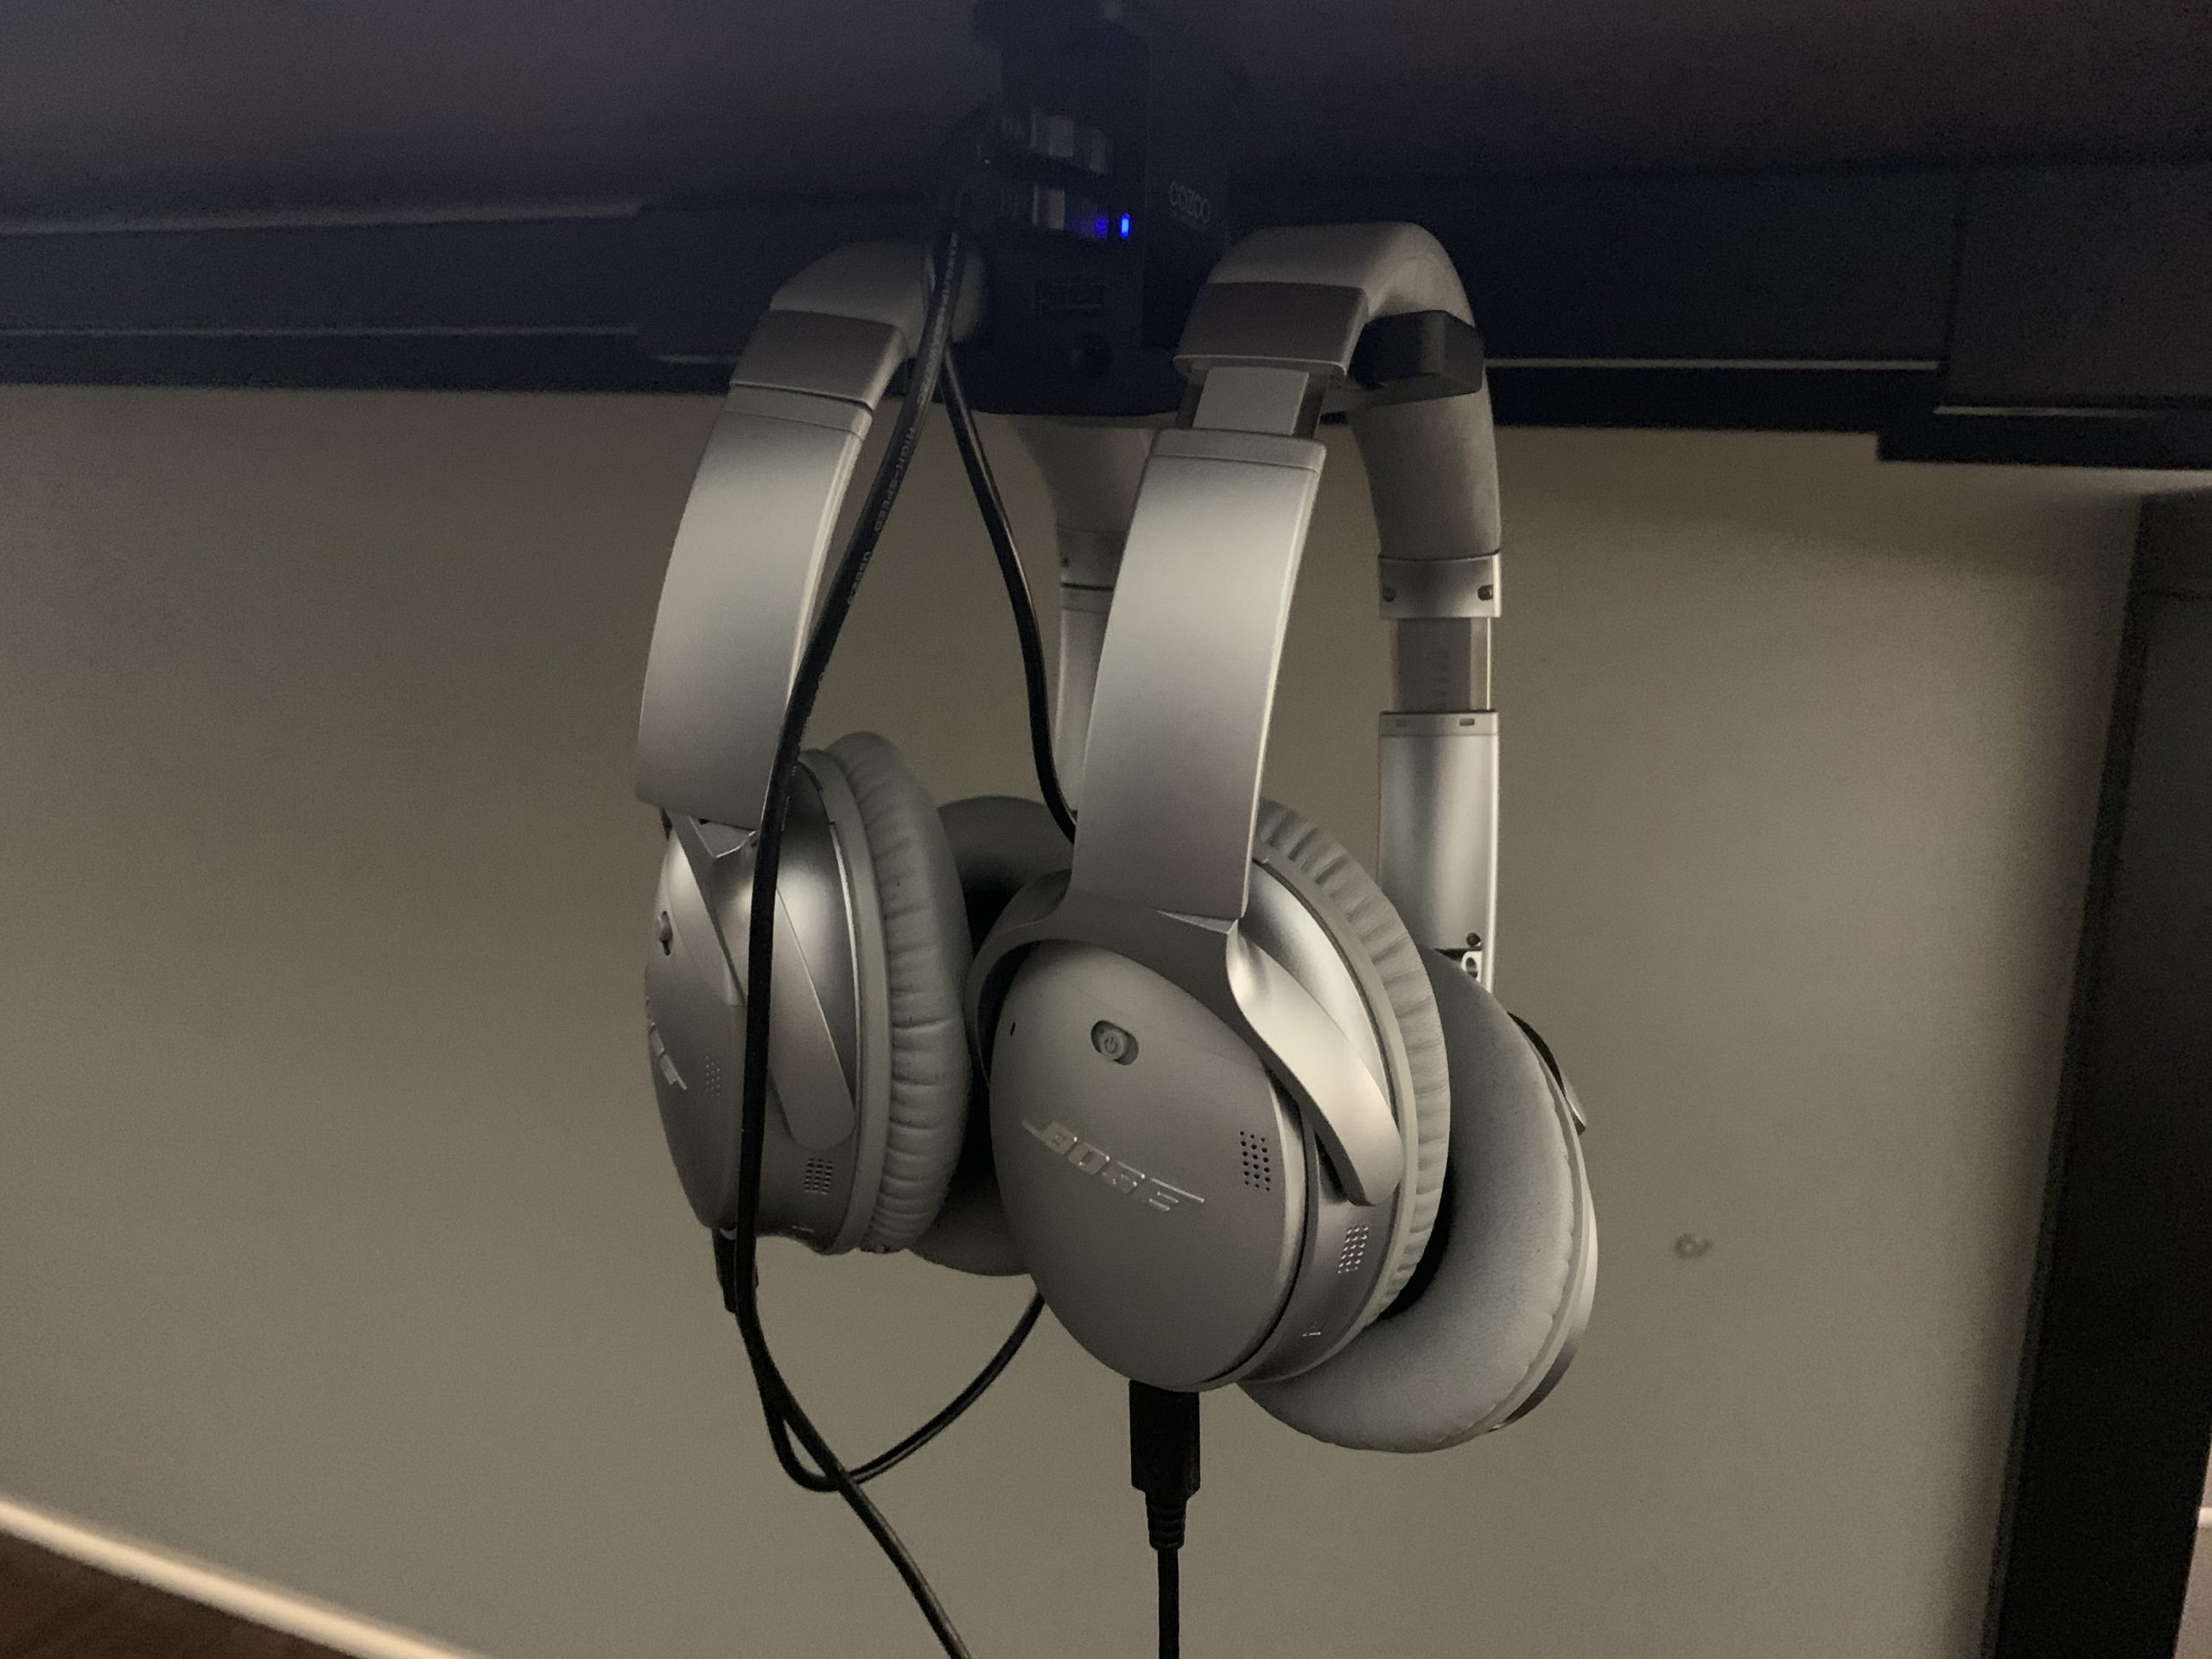
I added the Cozoo under-desk headphone mount + USB hub – this gives me a great place to hide away and charge my headphones, and the grommet in the desk actually gives me a very easy way to run the USB cable over the back panel and to the USB hub behind. I used the 3M adhesive backing that it came with to stick it to the underside of the desk; if/when that fails, it has screwholes and came with two self-tapping screws. Clearly I'm not afraid to screw into the underside of the desk, but I recommend 1/2" as the longest screw you try. I only have two sets of Bose QC35 IIs because I used to keep one at work and one at home. Now my second is used exclusively for travel, and this is as good a home for it as any.
I also now have two Blue Yeti mics, one in black, one in silver. The black one is mounted to this scissor arm, which is mounted to the wall mount for the right monitor (but very easy to remove). I added a windscreen, which substitutes okay for a heavier, bulkier pop filter. Andy Mallon told me recently about the free Blue Sherpa app, for both Mac and Windows, which can assist with firmware updates and optimal configuration for most Blue mics.
There is also an Anker PowerWave Base Pad, to charge my phone with a low profile. We already have three of the stand chargers in the house – been really happy with Anker gear in general.
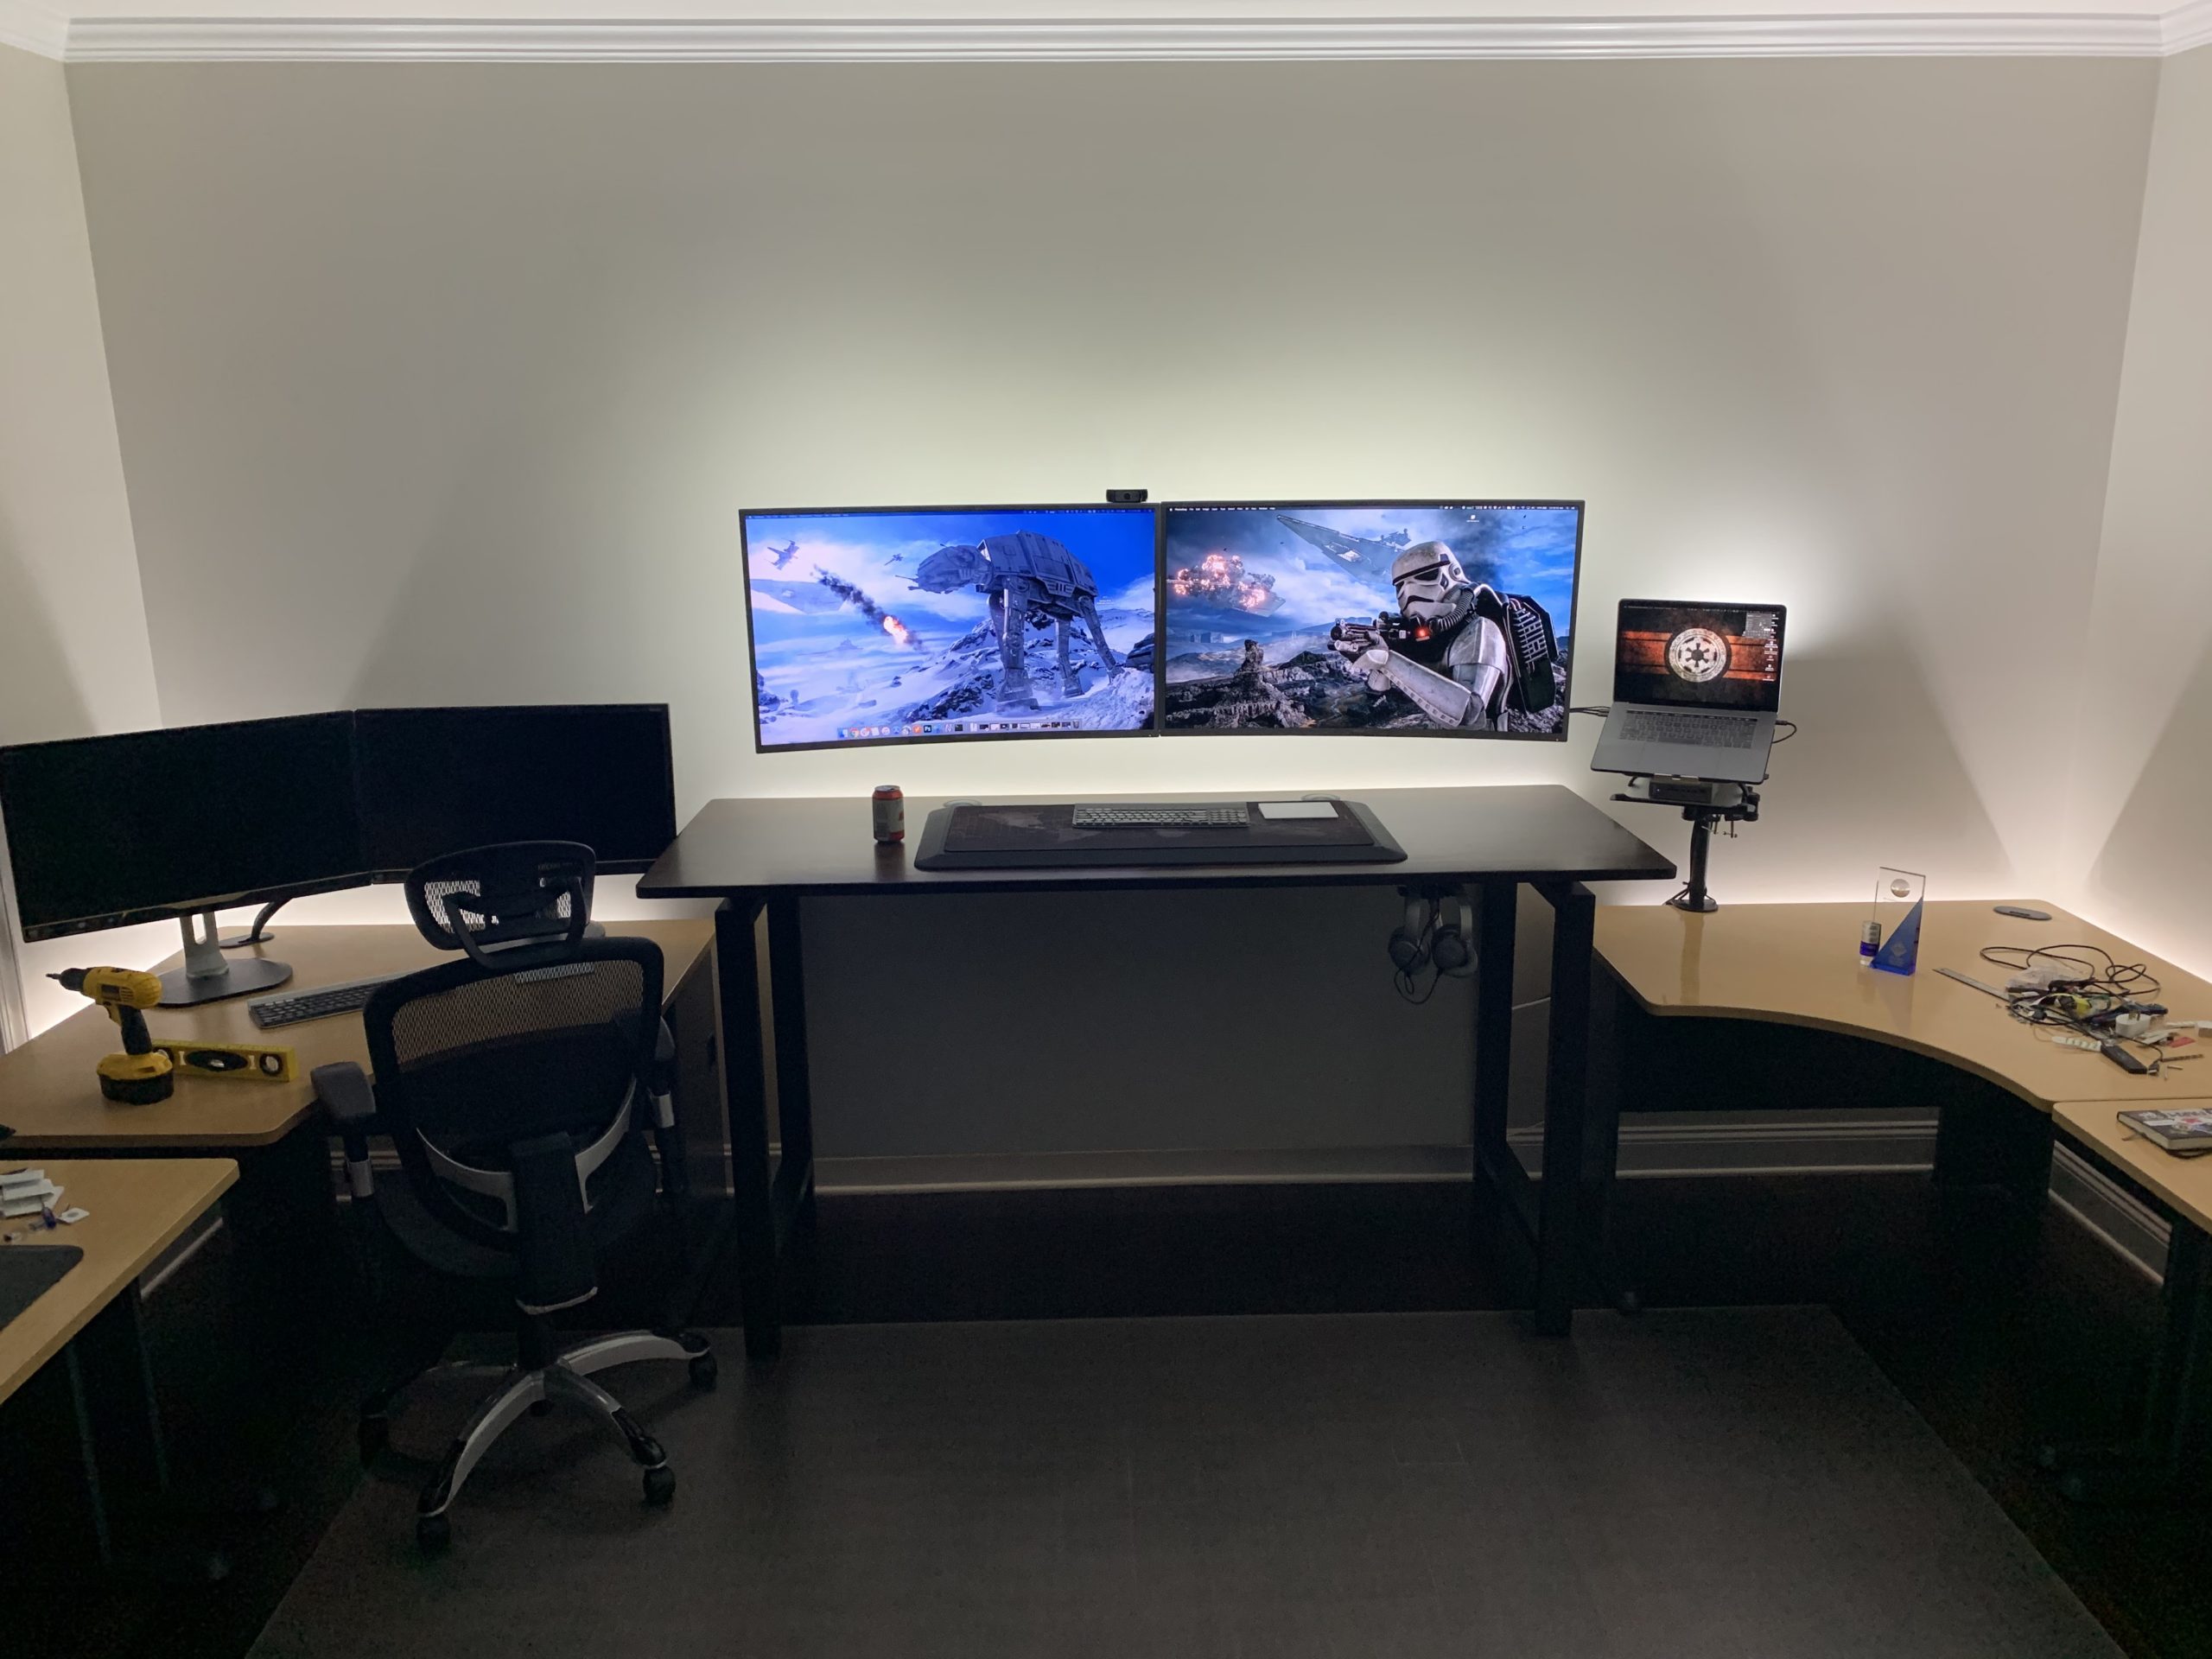
The desk chair is a Staples Hyken – a sturdy, comfortable, affordable chair. It replaced a Herman Miller Aeron that didn't make the move from Rhode Island to Charlotte — it made sense at the time to sell that before the move, especially because the original point of moving here was to spend less time in my home office. It still worked out because I am not sitting all day like I used to, no matter what space I'm in. (Since posting, I've ordered these rollerblade wheel replacement casters, thanks to William Durkin, because they're quieter and won't scratch any floor.) My VariChair, which adjusts easily in the range of 23" and 33" inches, gives me that middle ground "kind of lean on a stool" option, and I pull it out to the main desk at least once a week. It also acted as the surface for my trackpad during online meetings, where I need to mute and unmute often, while my desk frame was in limbo.
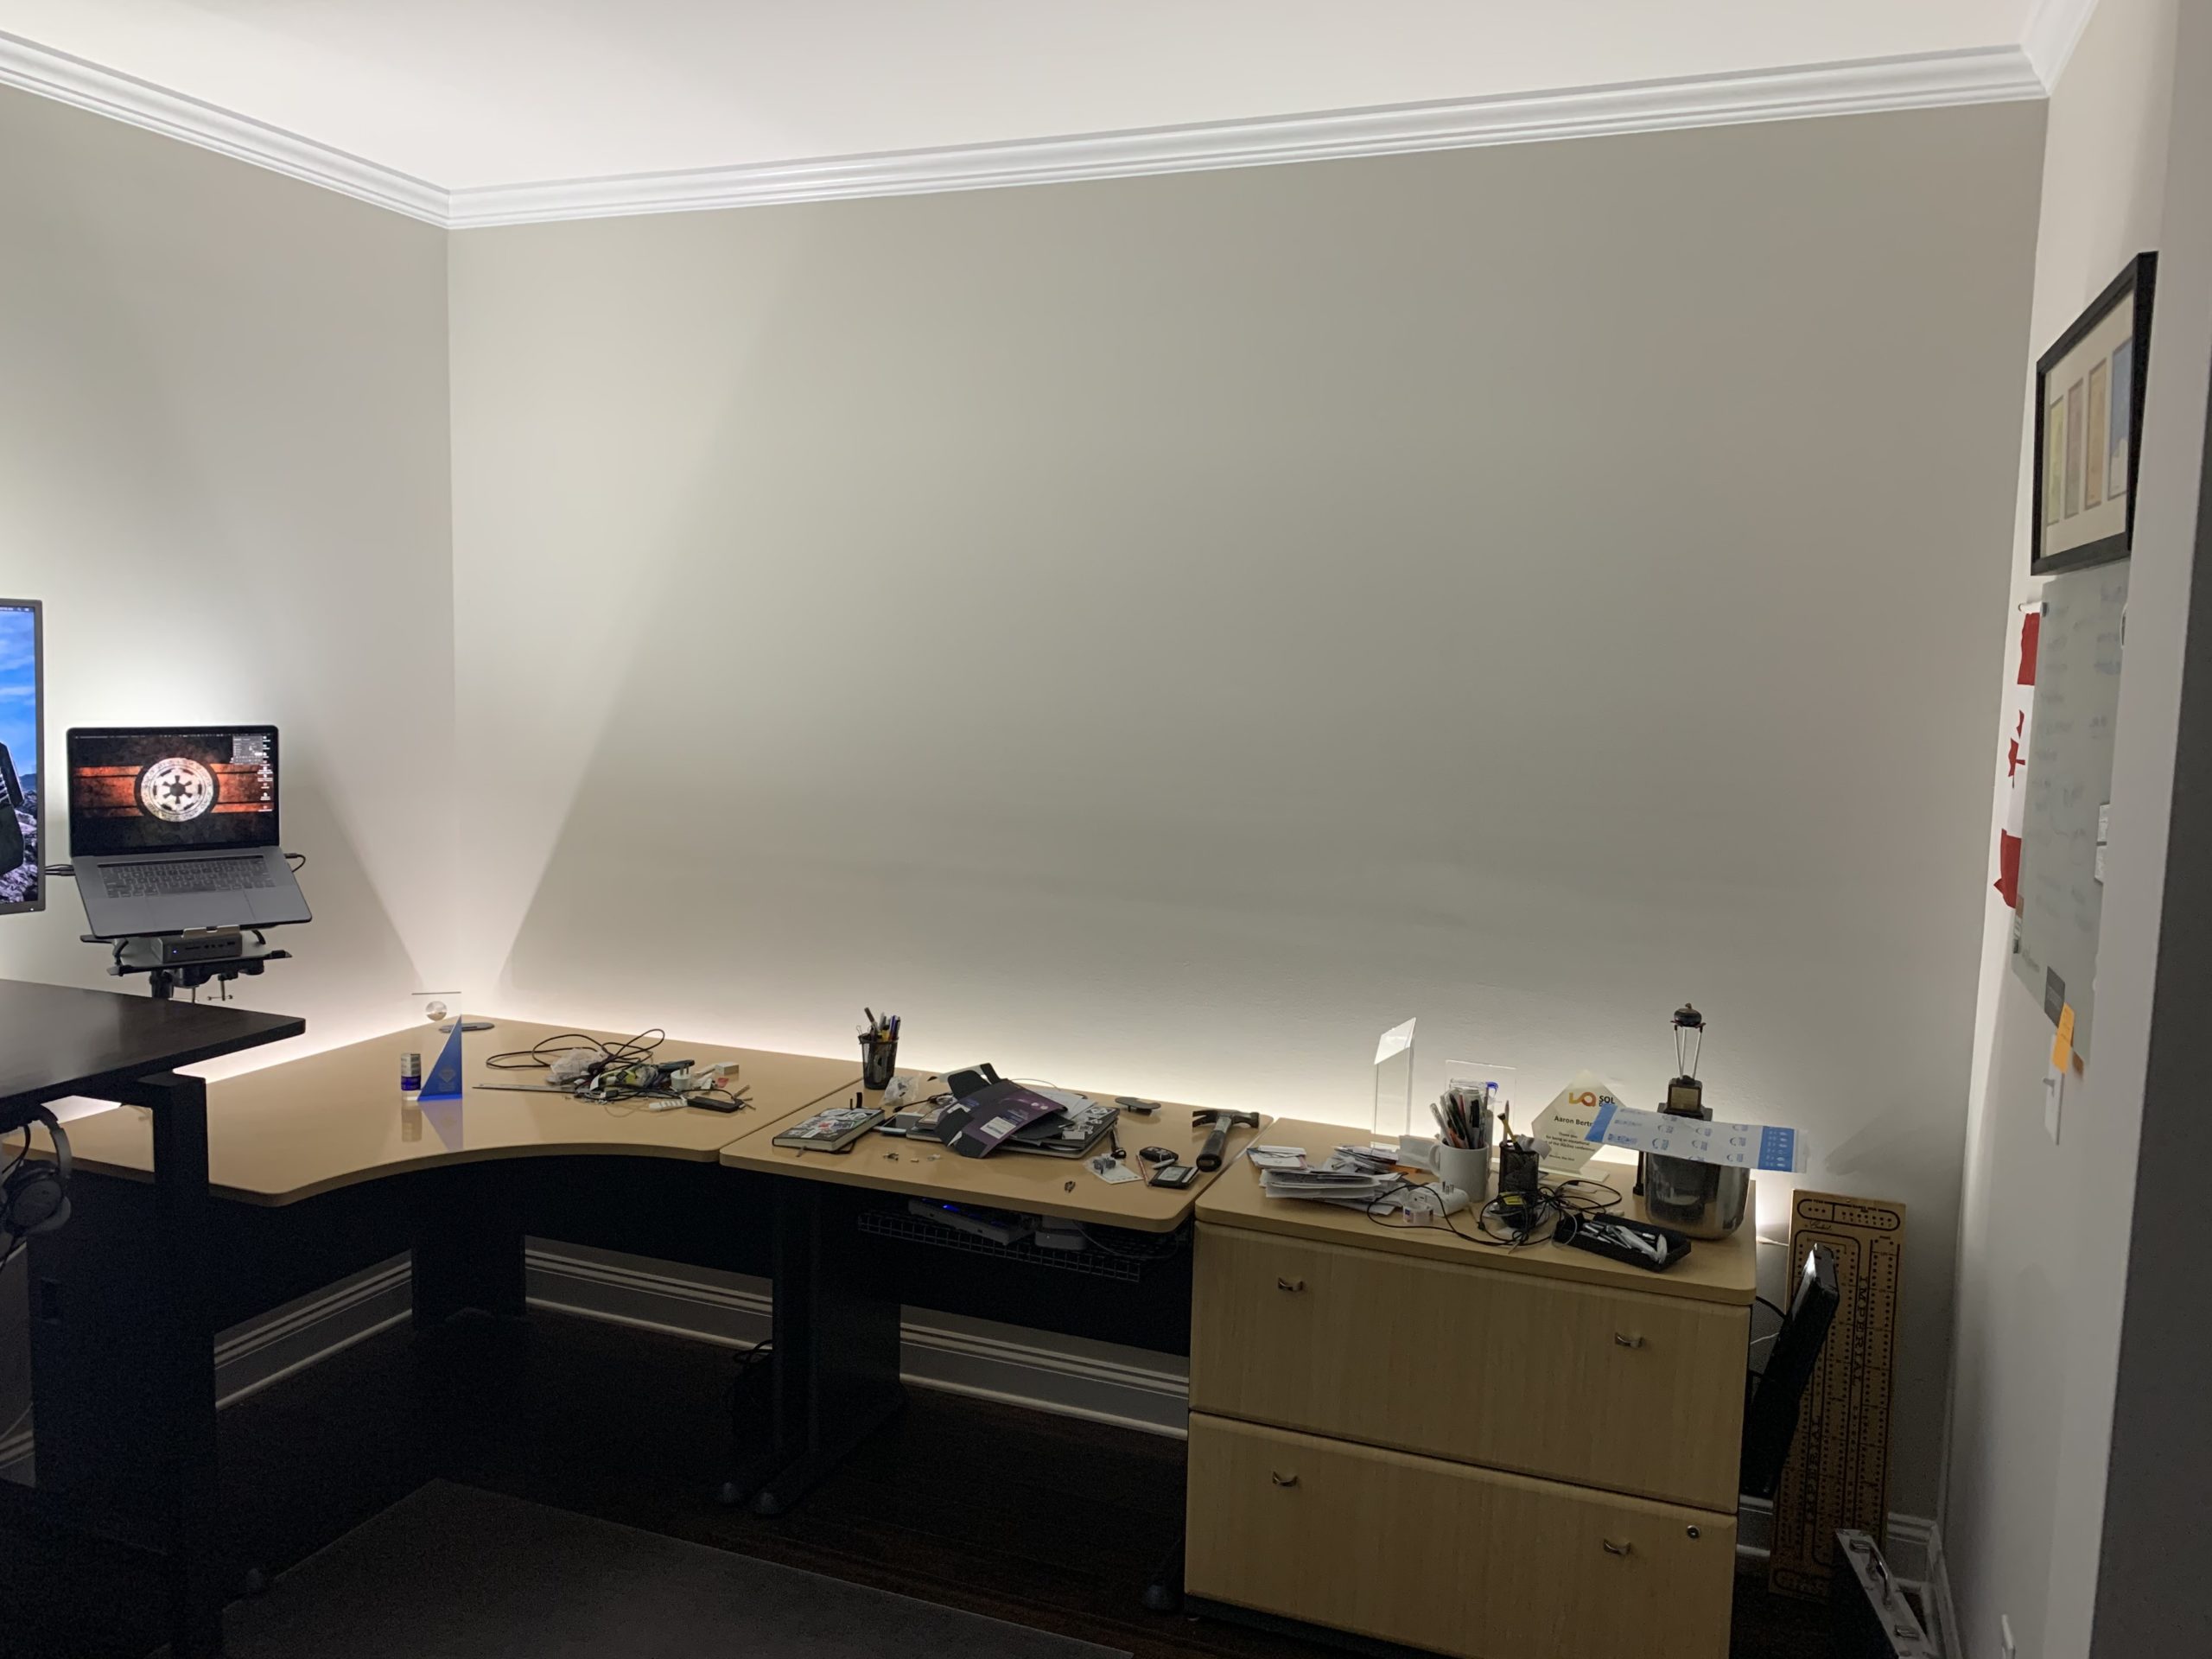
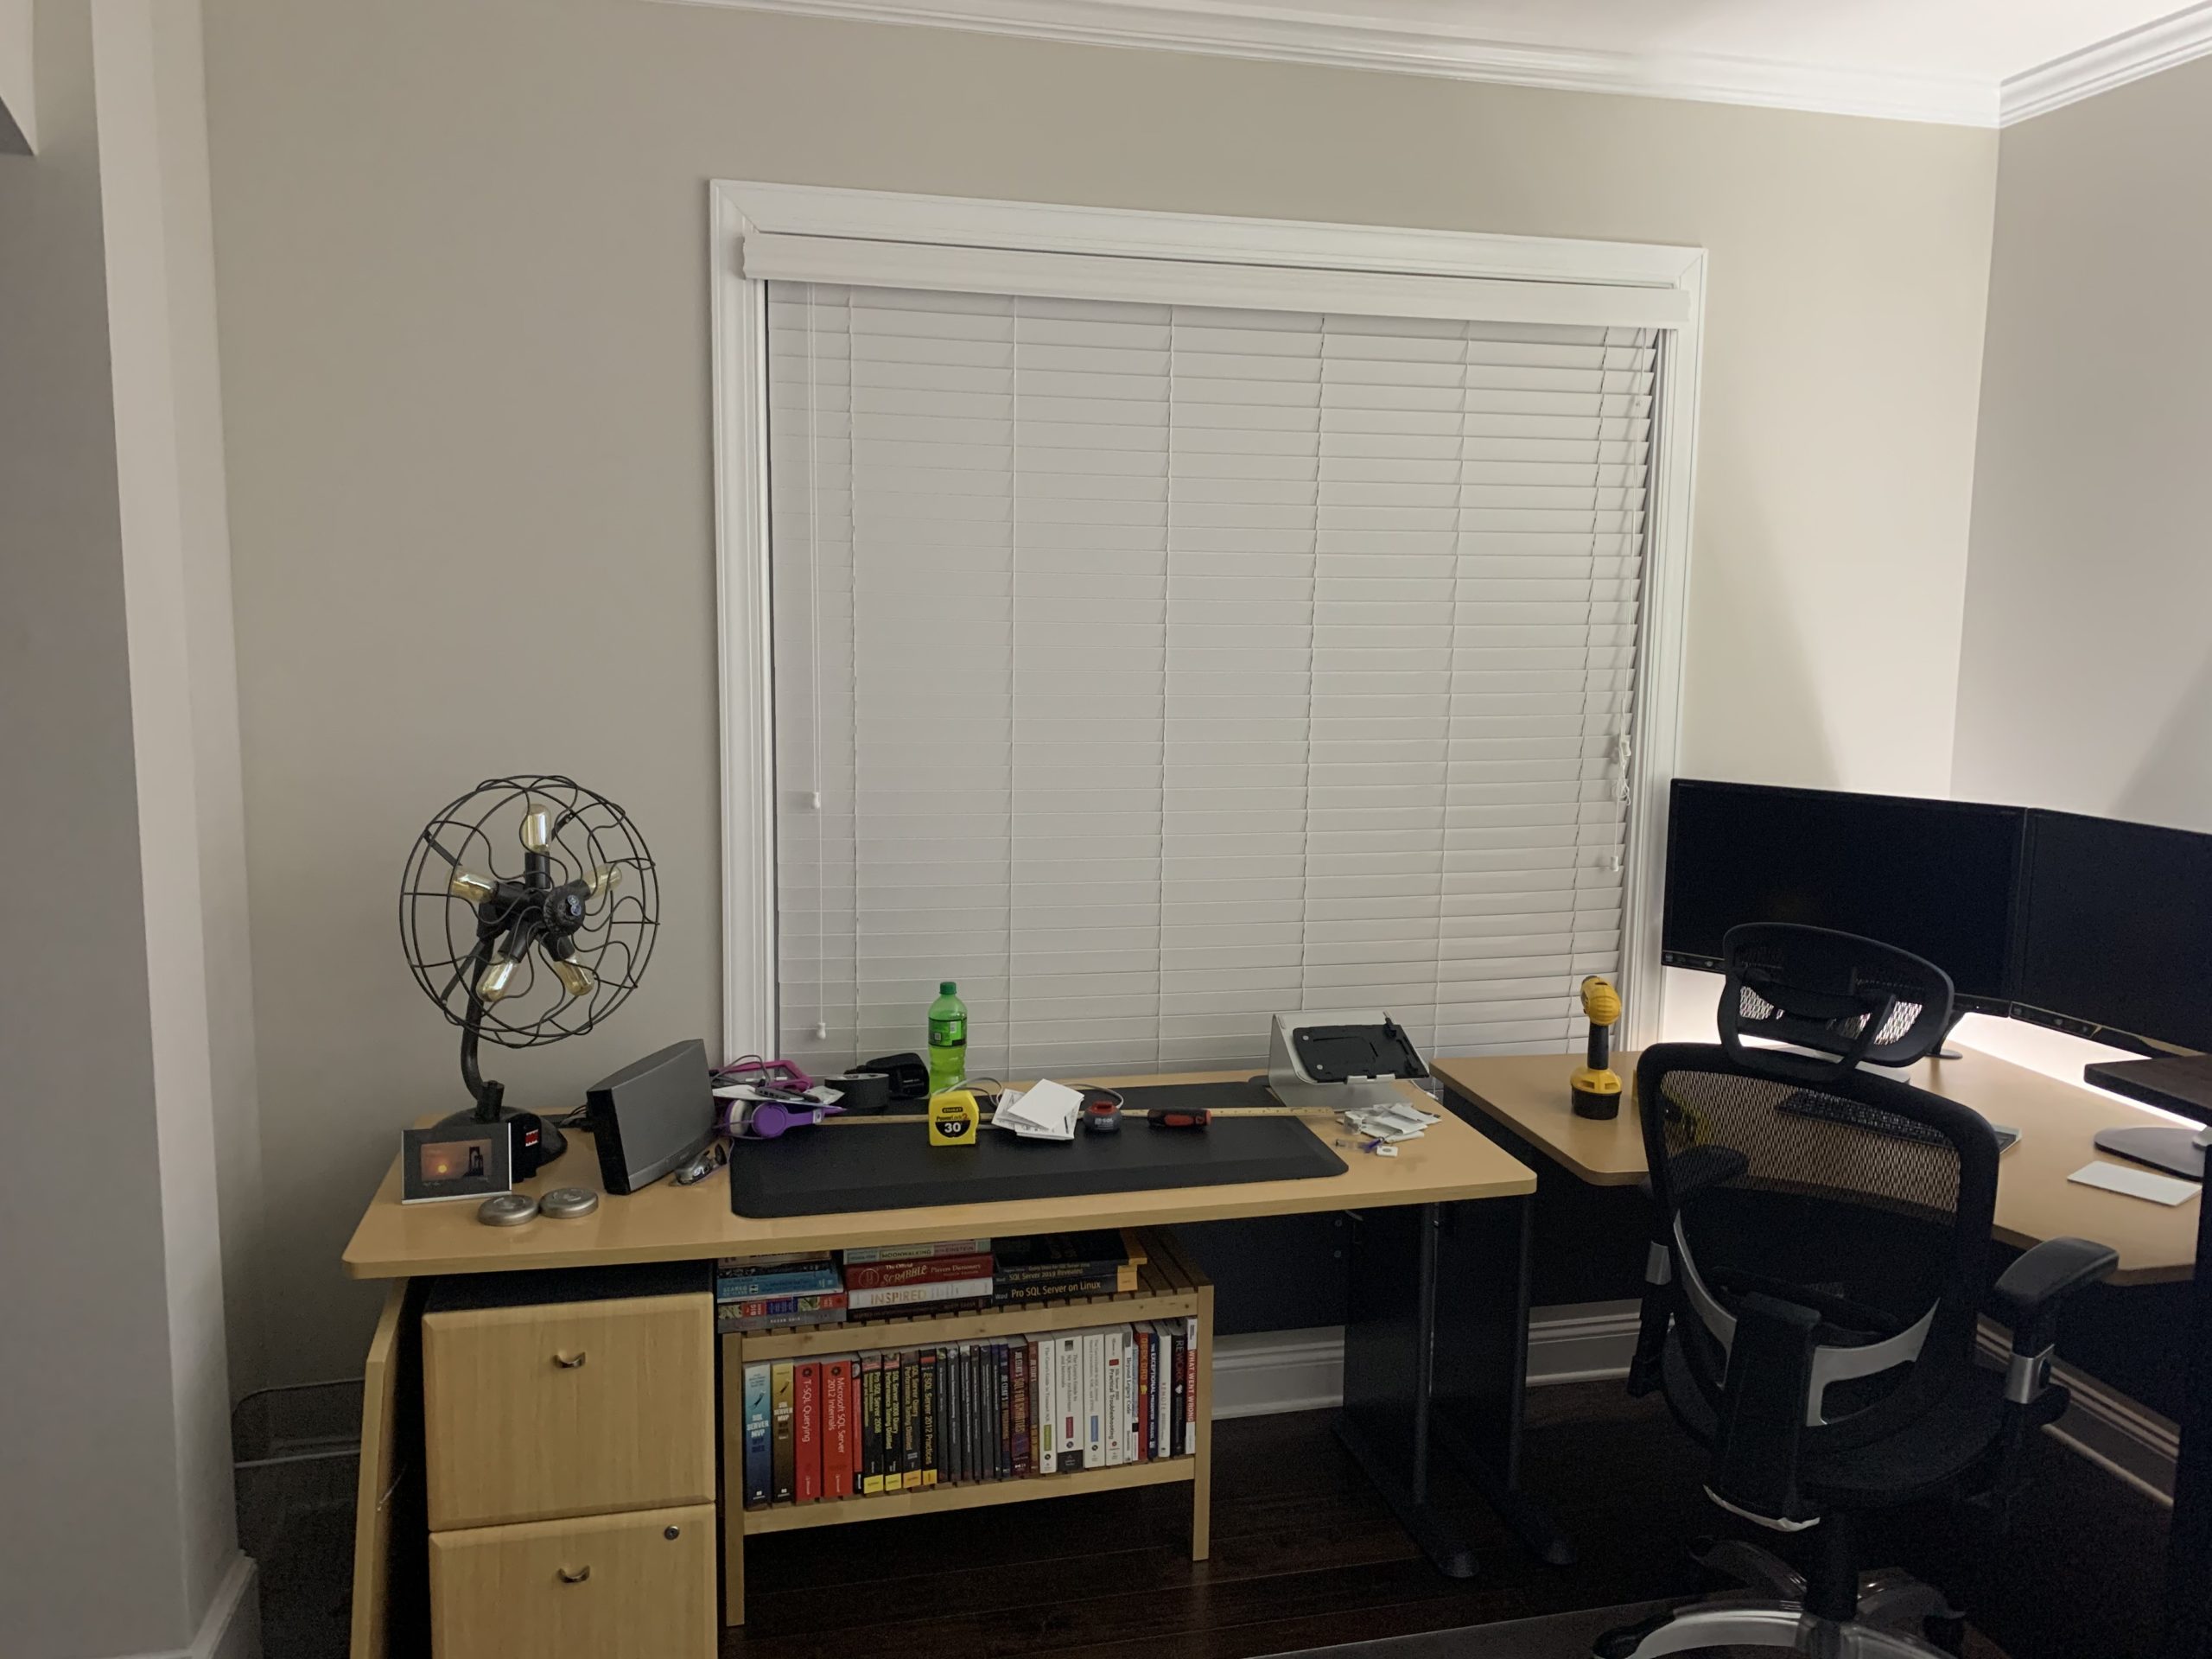
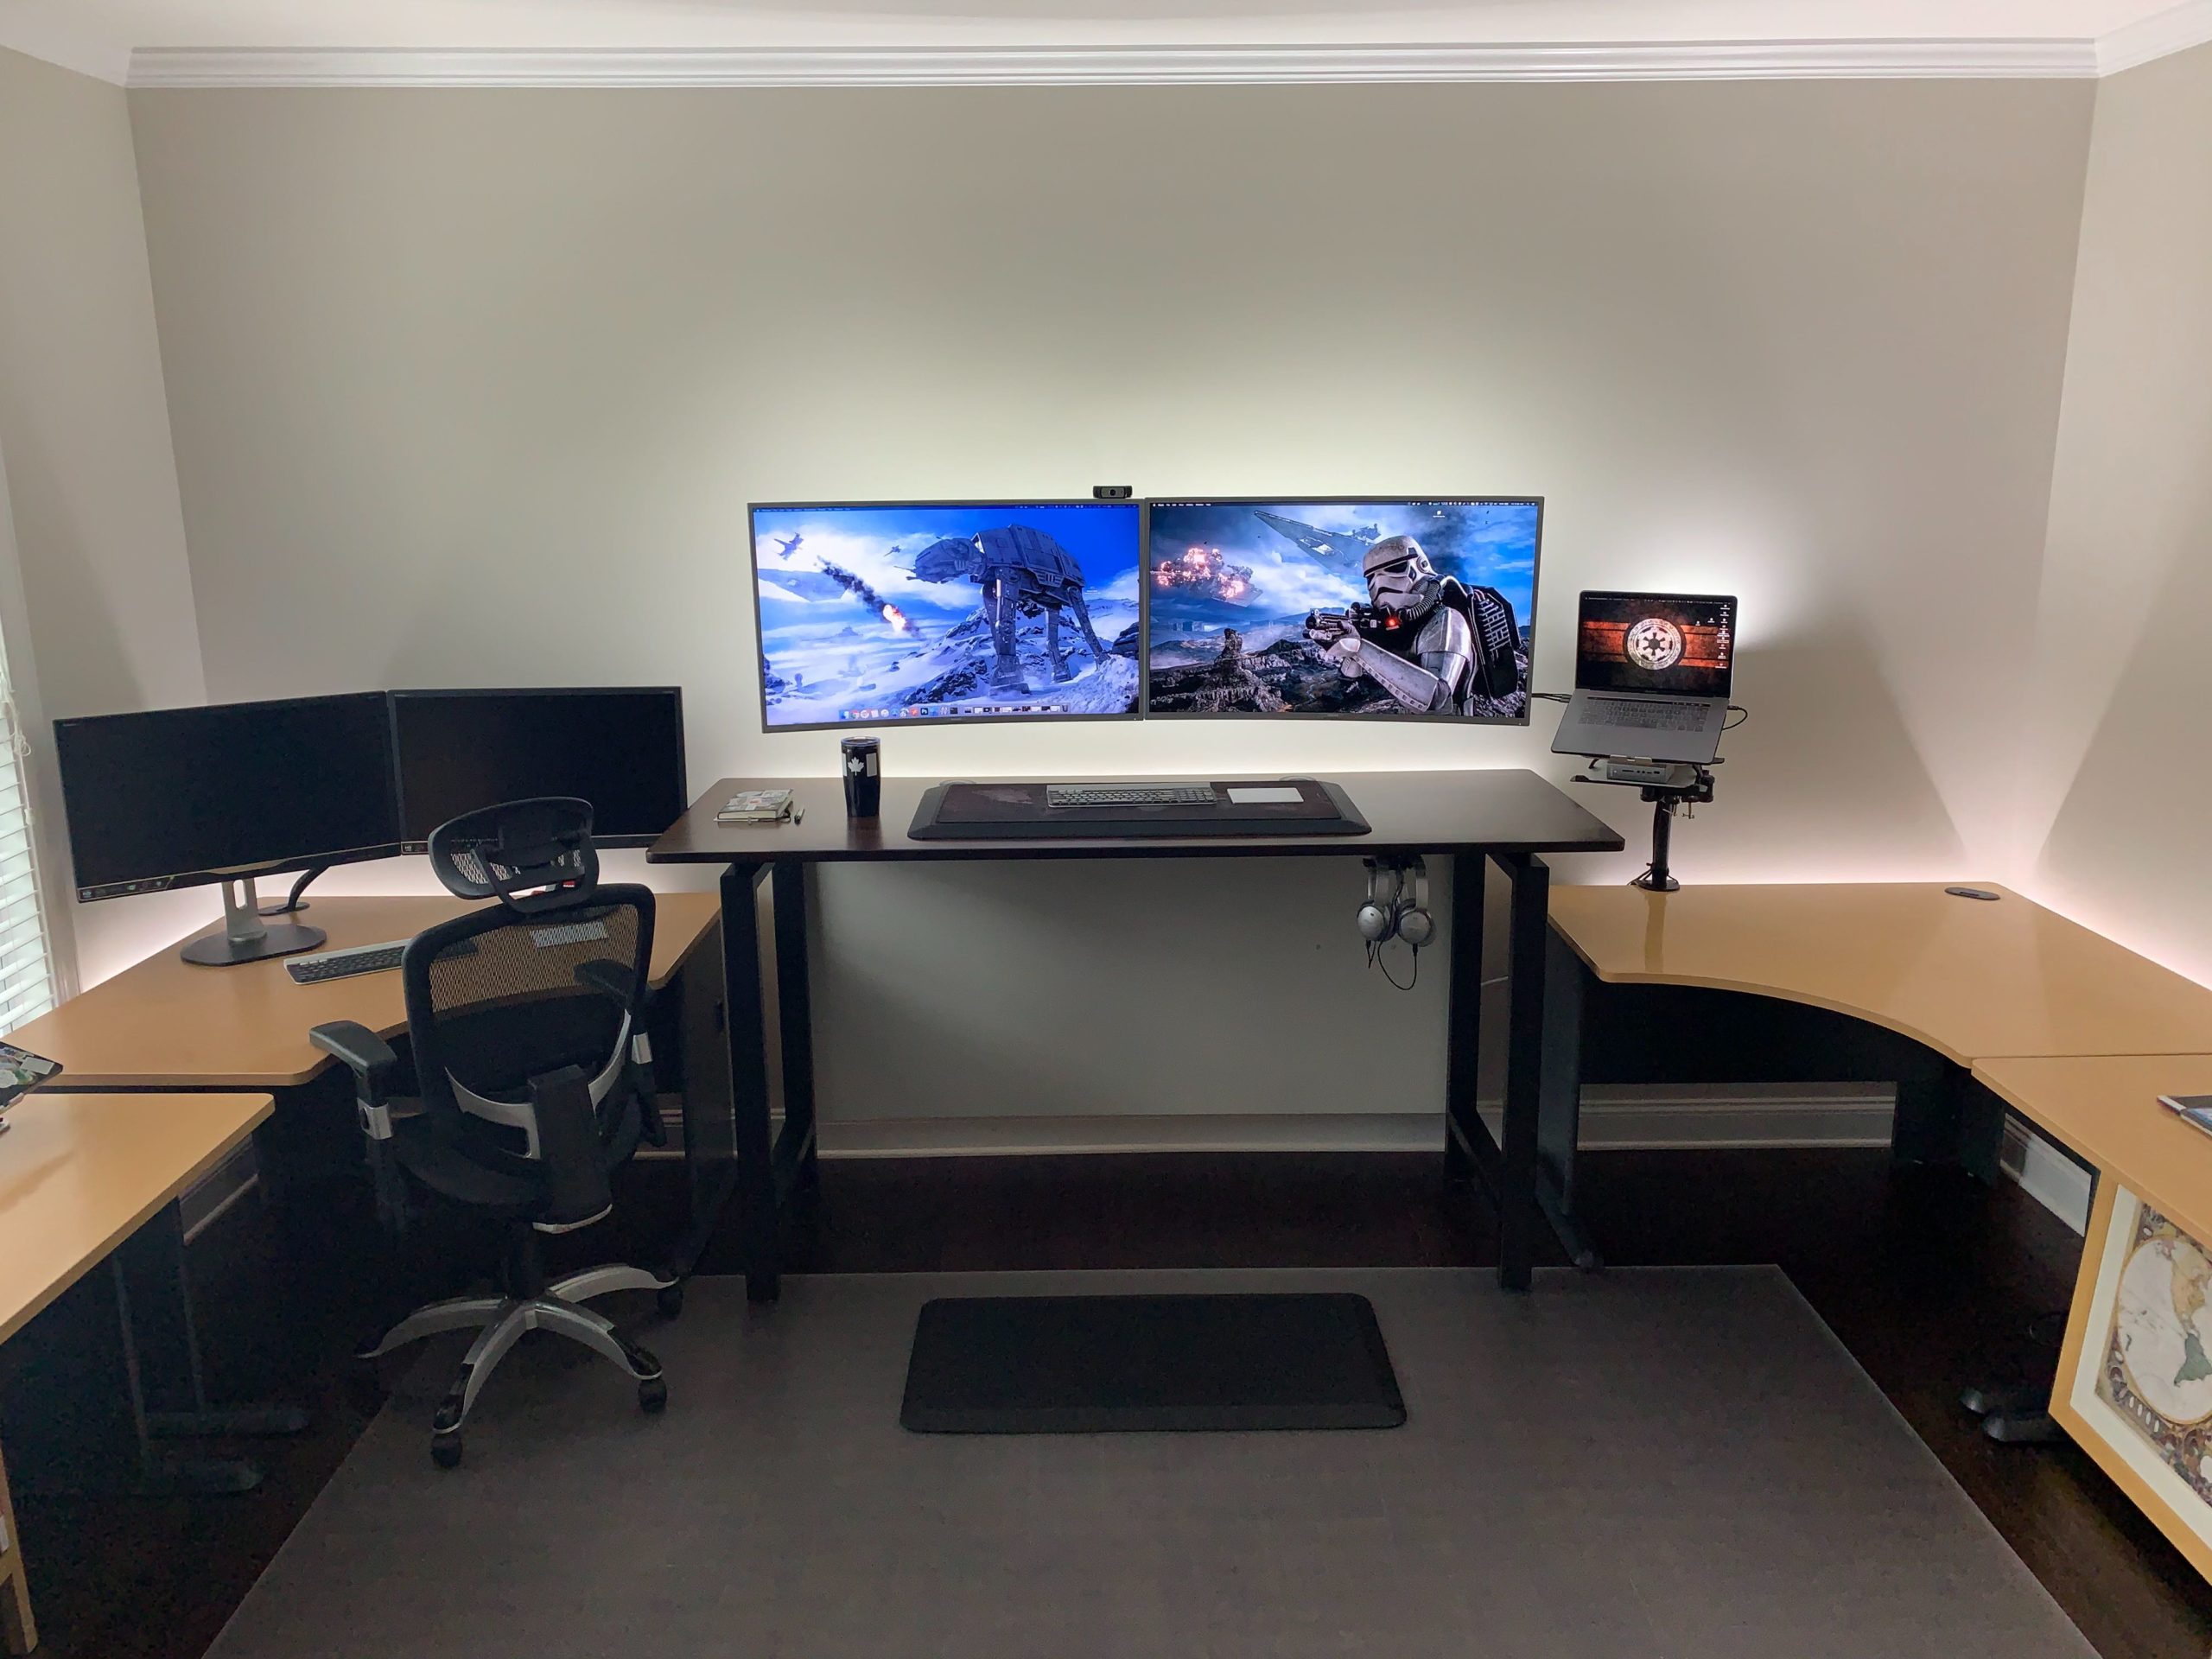
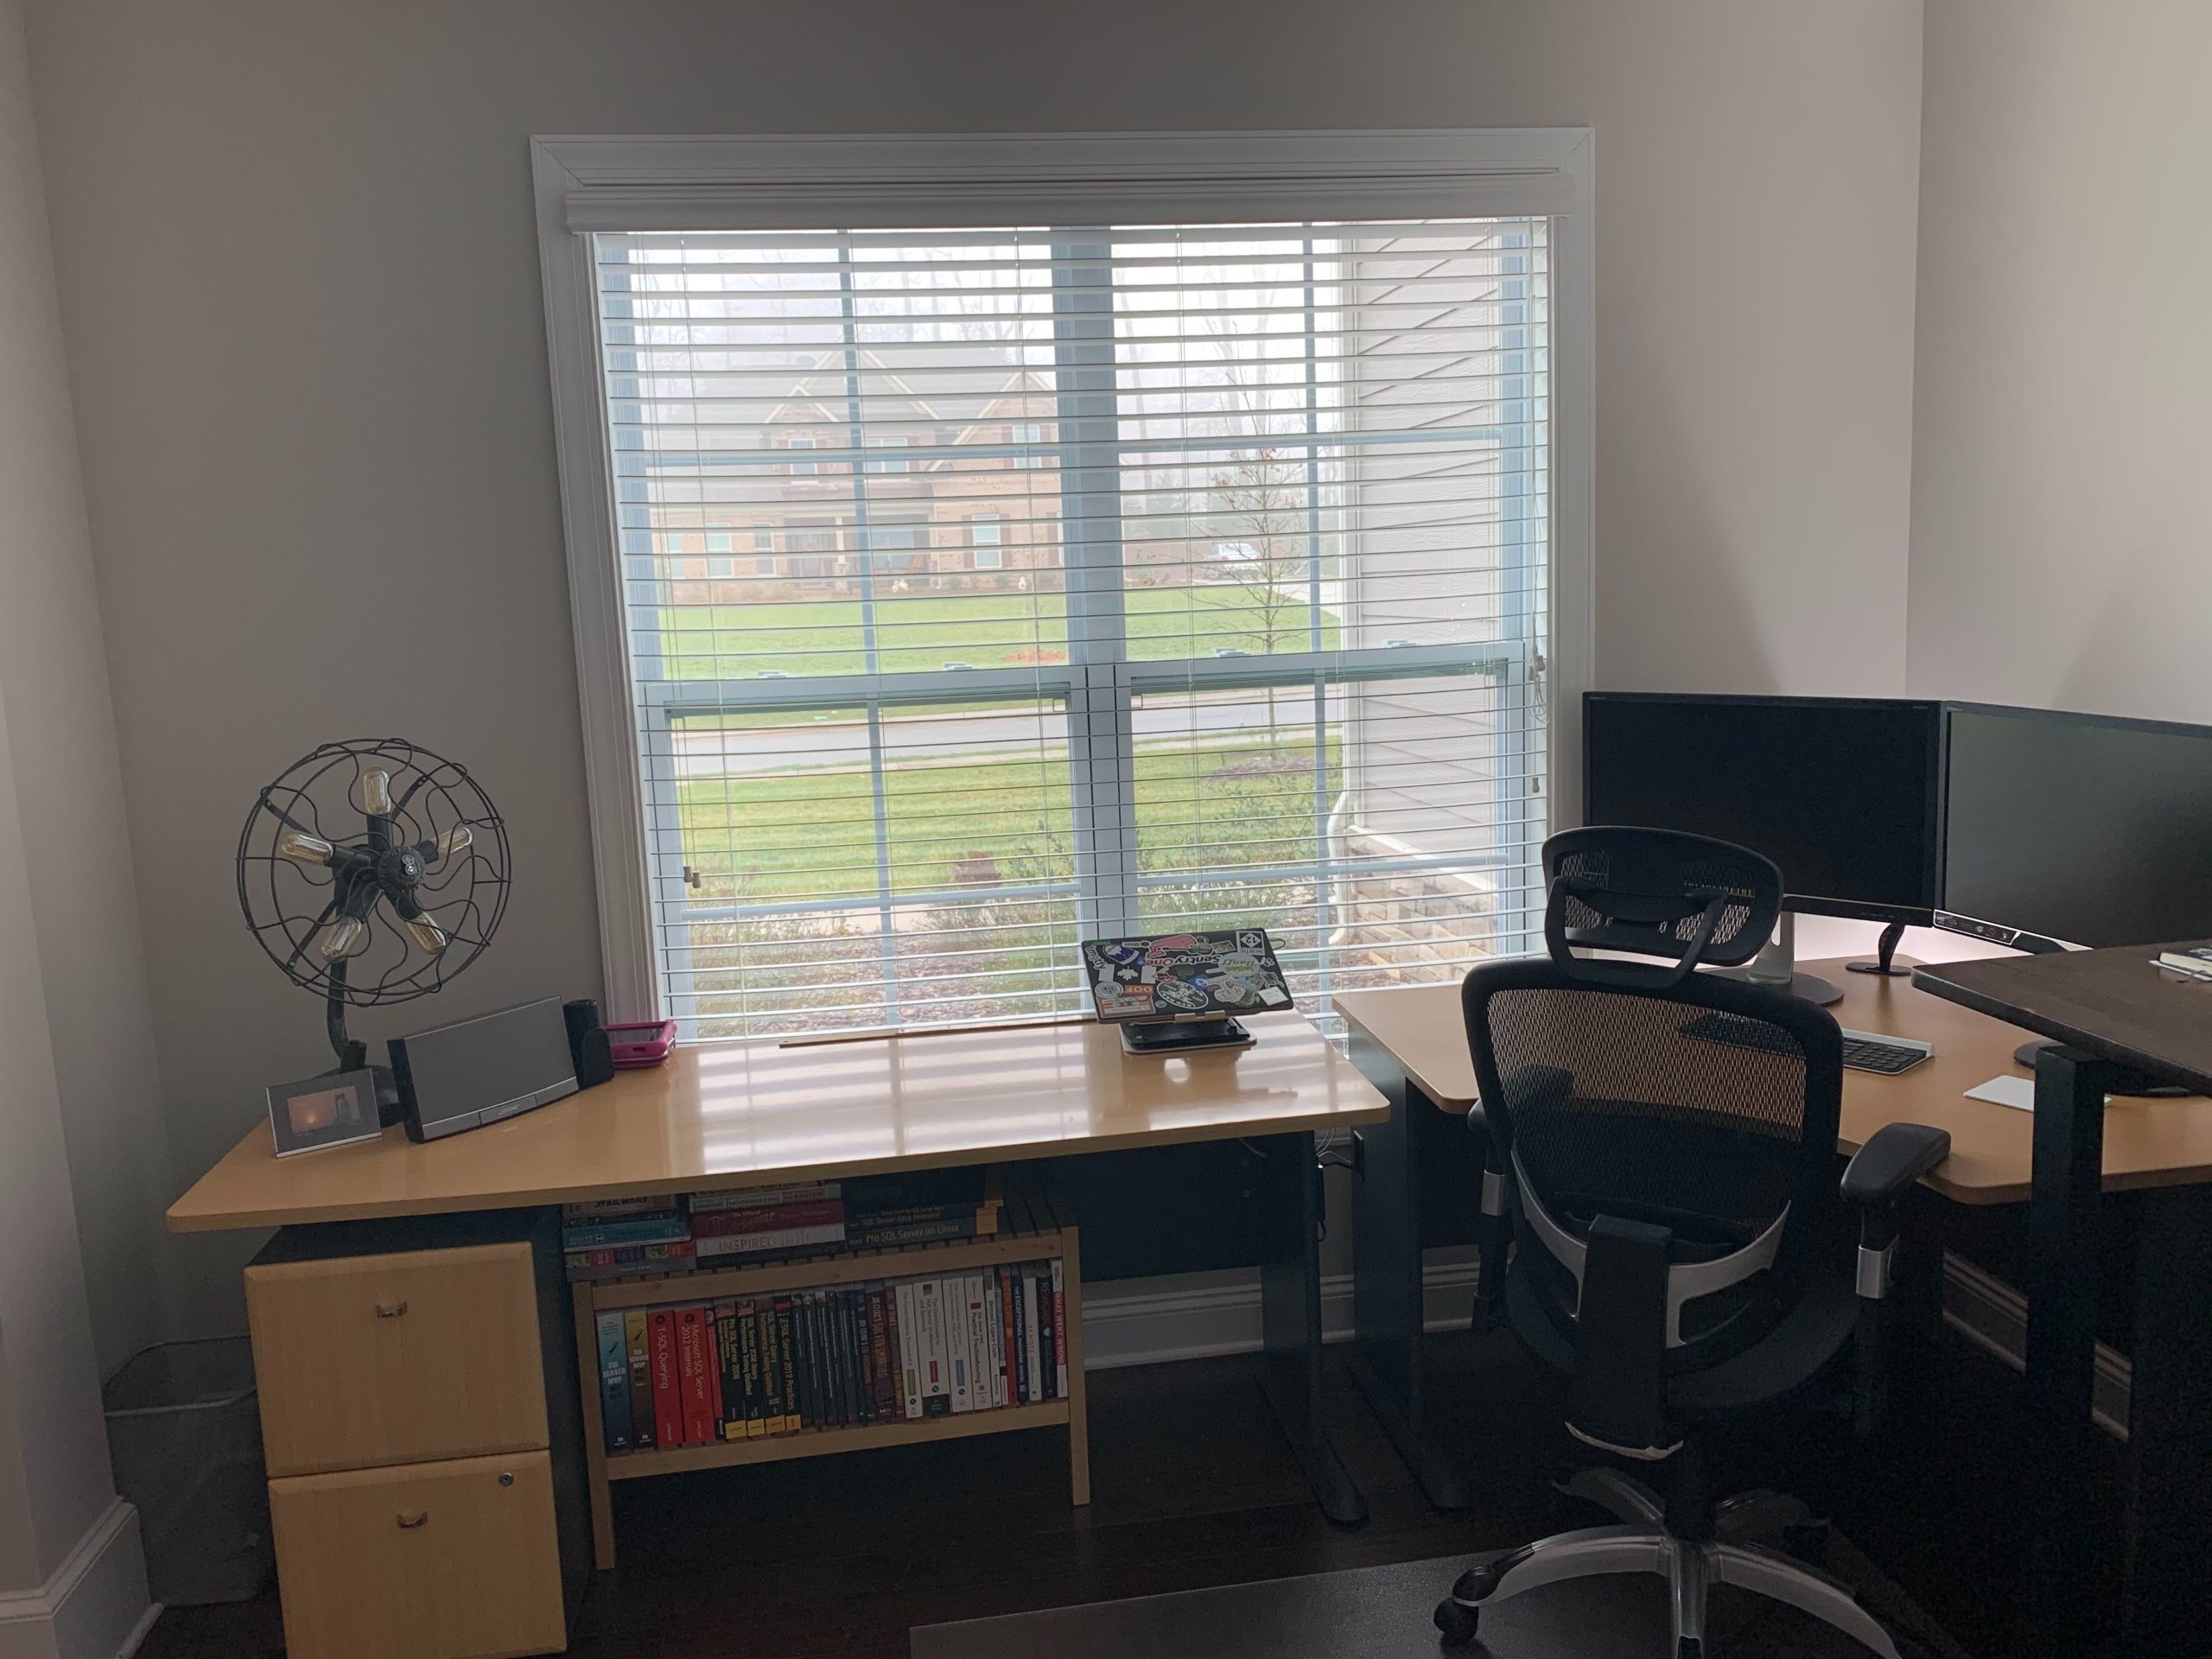
The lighting I am very pleased with. The difference between night and day is, well, not night and day. The most noticeable differences are the floor and the window corner furthest from the main desk. Night is the top row, day is the bottom row:
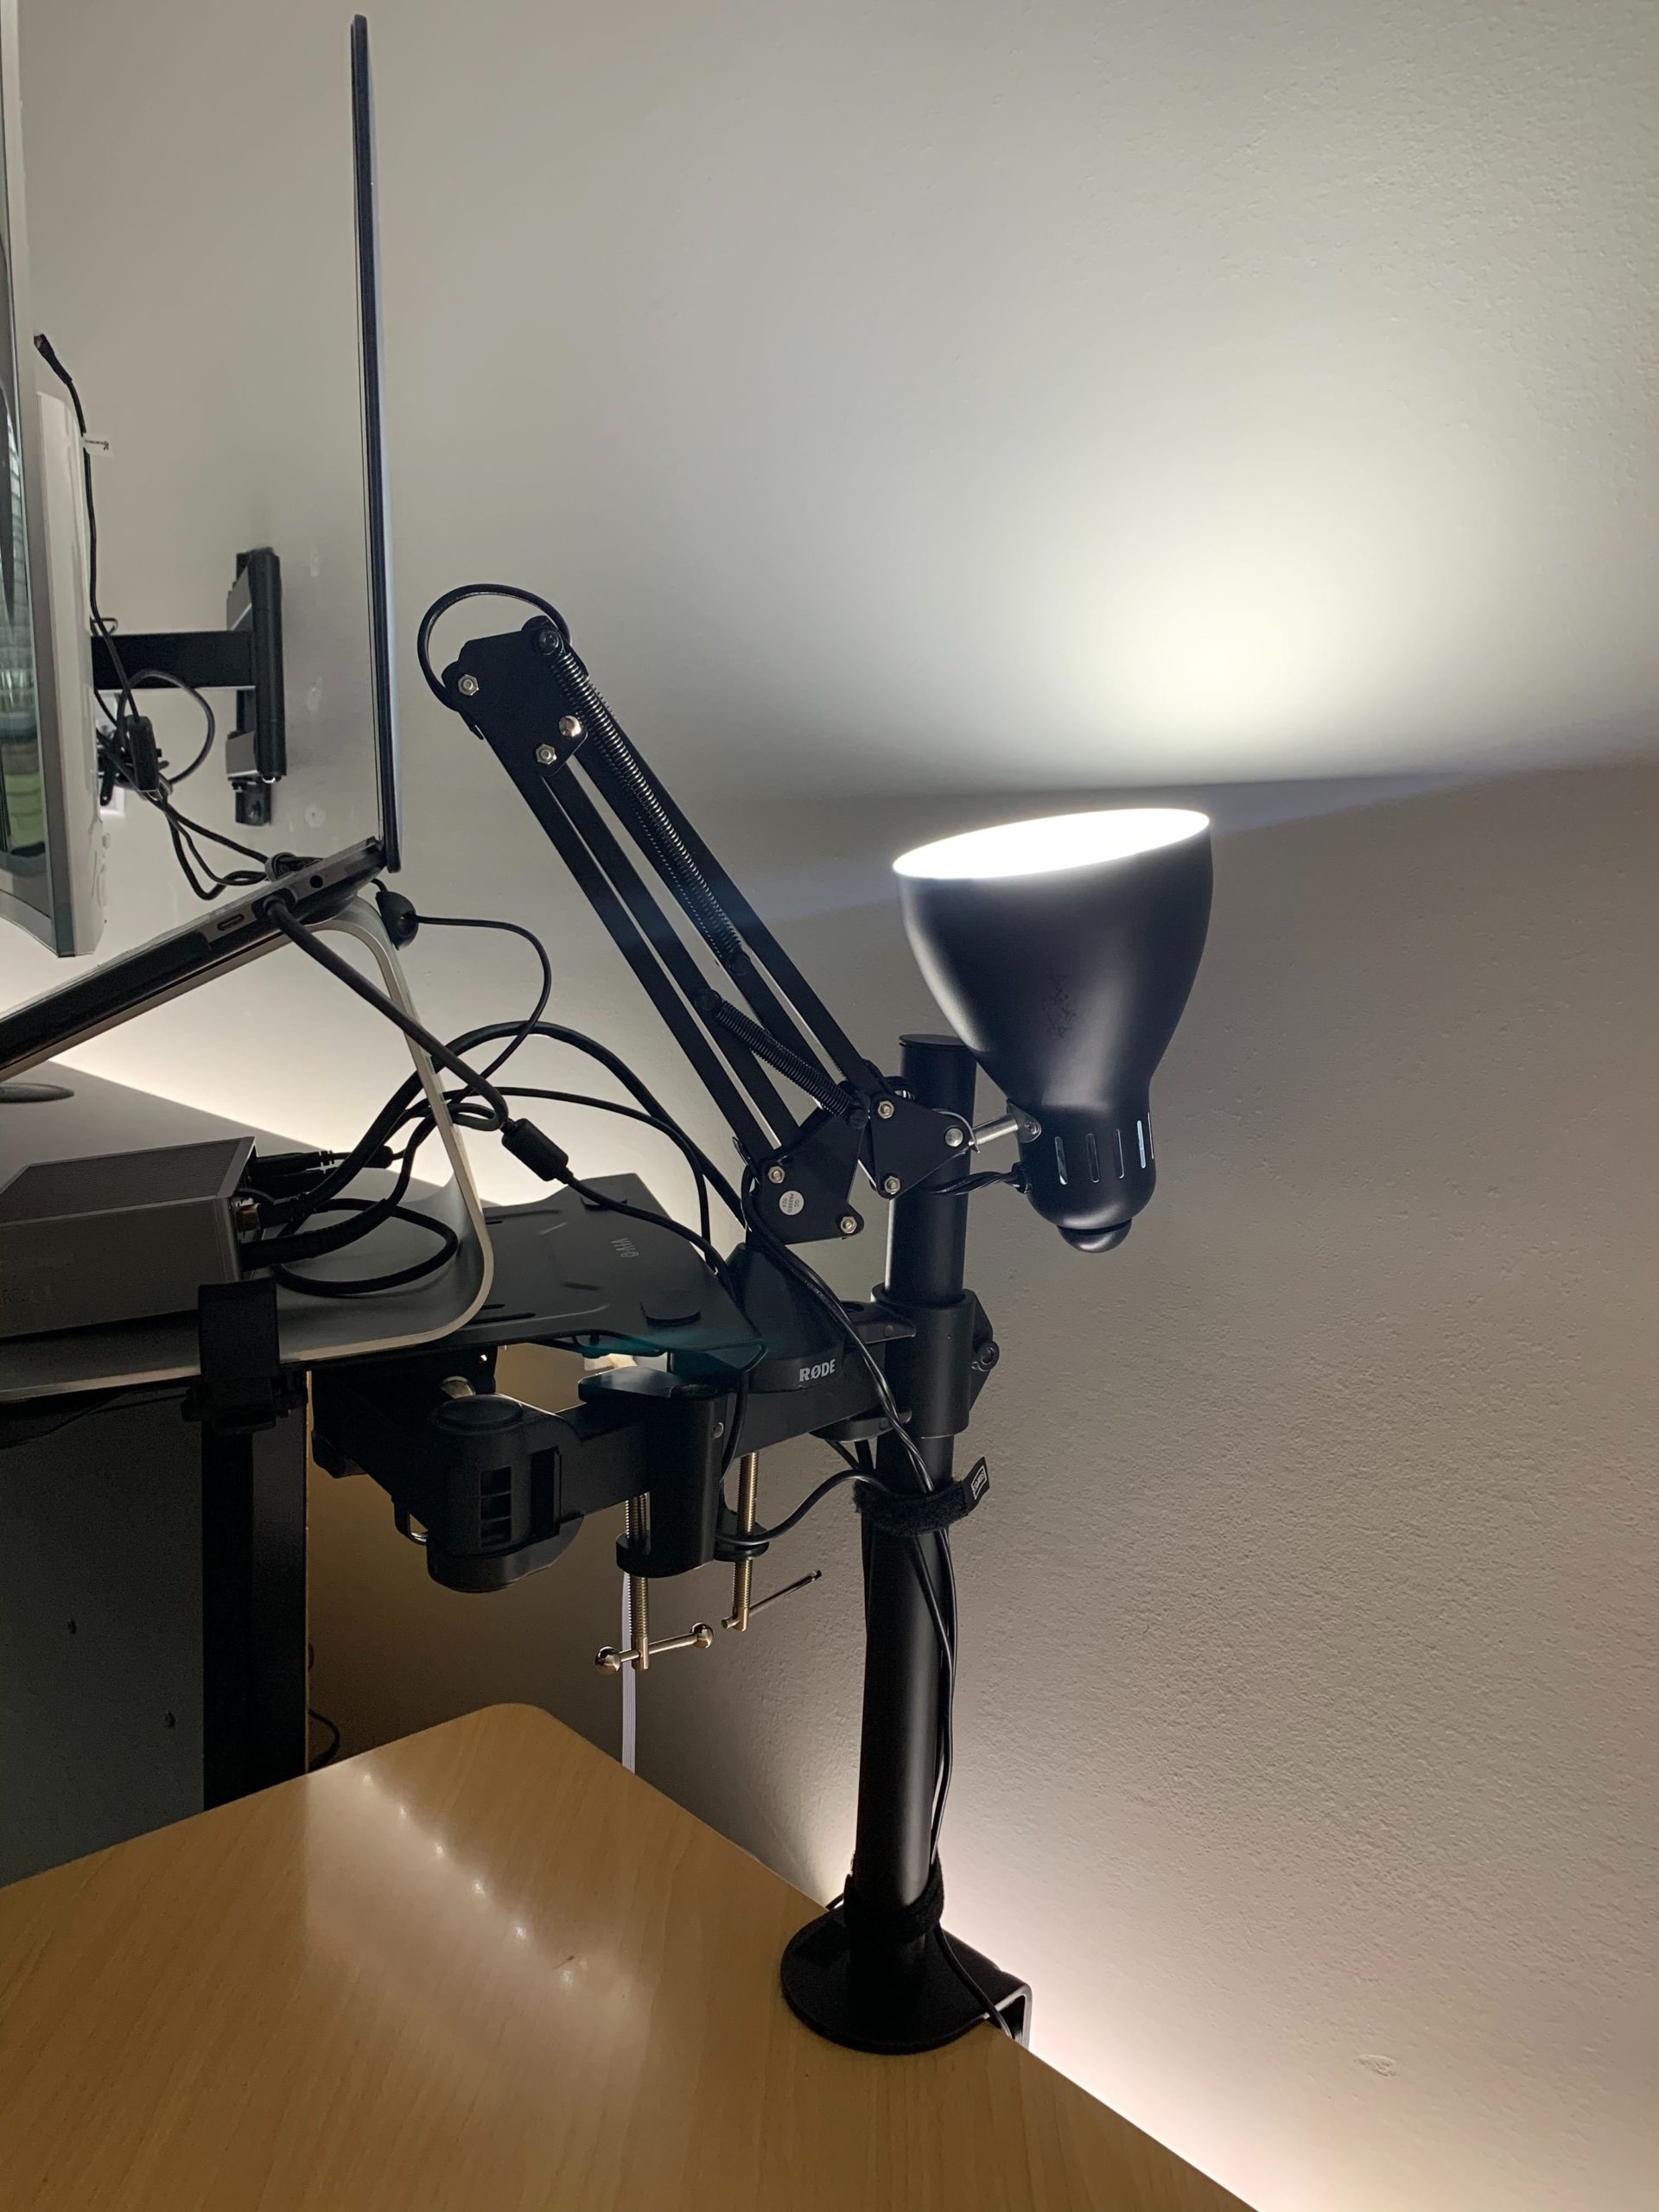 Backlighting doesn't have to be fancy. Again, I went with the Philips Hue lightstrips, but sometimes low tech is the best solution. The lighting behind the laptop, for example, is a cheap desk lamp, pictured at left, masquerading as backlighting. The Hue bulb it holds was definitely more expensive.
There are some other low-tech solutions that work, too. In some places I used cable sleeves, in some places velcro wraps, in some places clips like these, and in some places simple twist ties that come with most cable-ish gear were more than adequate. And on the side of the larger filing cabinet, I mounted a simple hanging wall file, stuffed it with the egg form from a MacBook box, and used it to hide my scanner and portable monitor, neither of which I use very often.
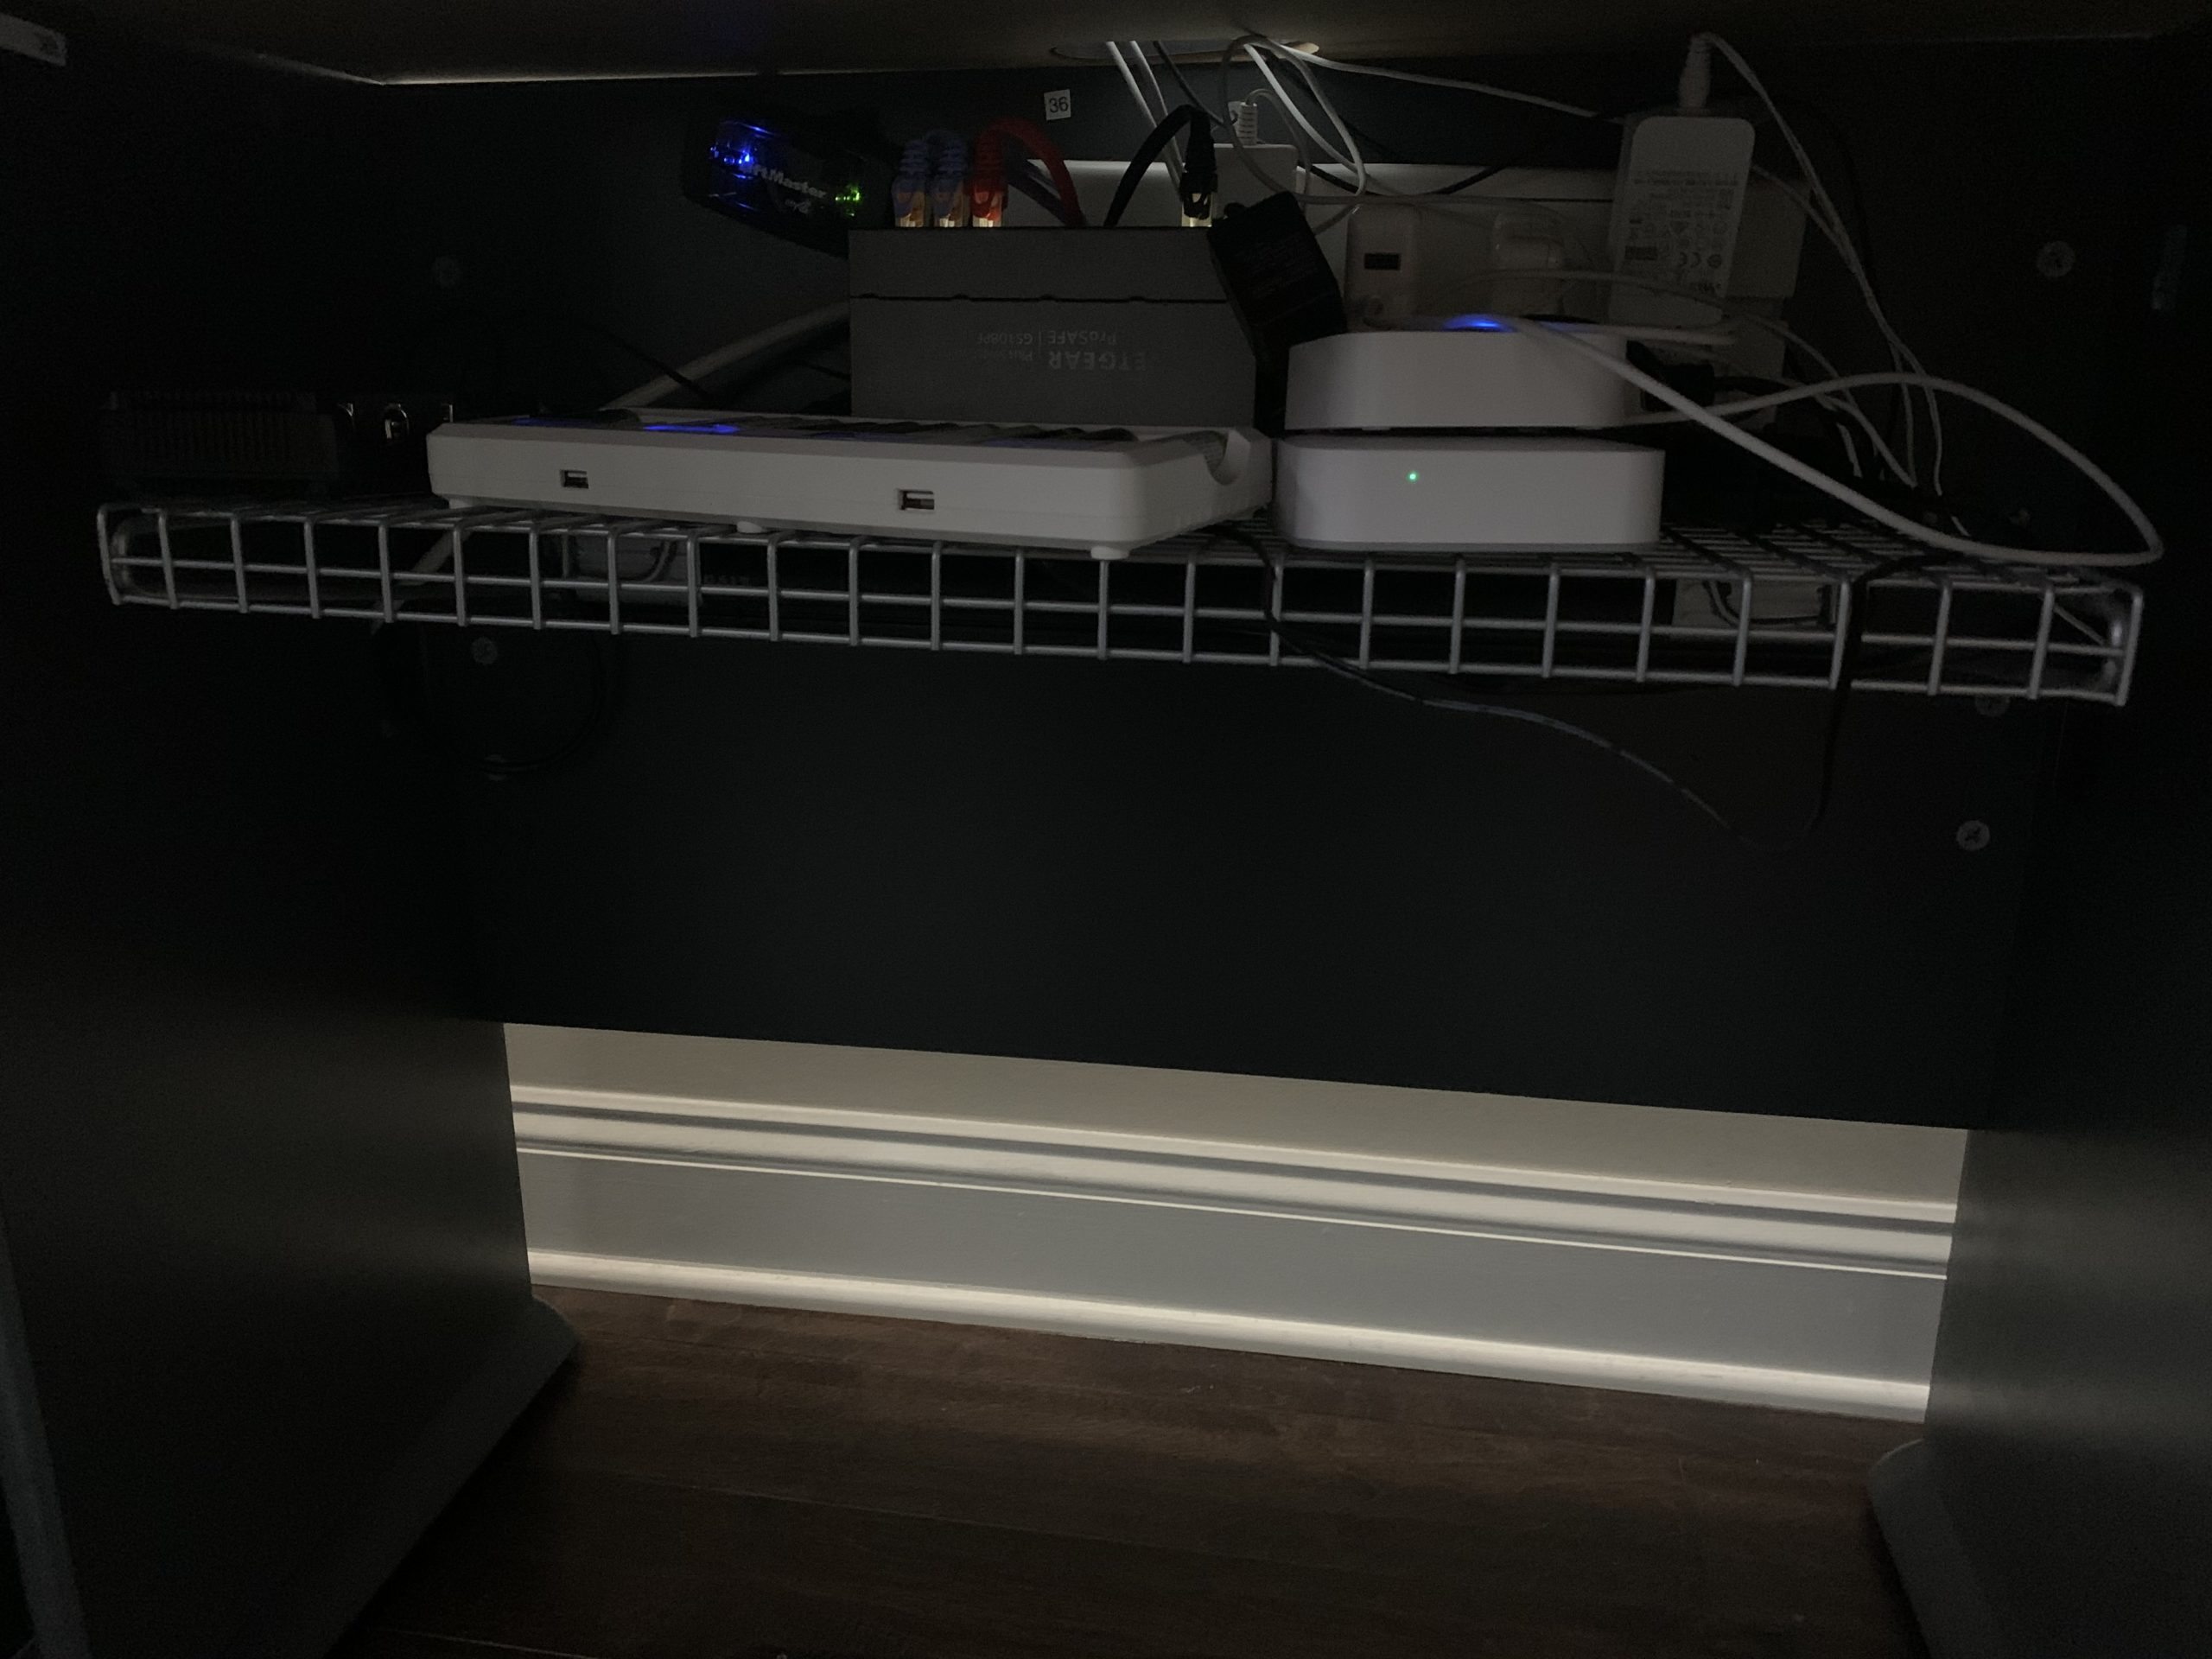
The dining room across the hall is full of antique maps, to the extent that Nicole actually calls it the map room we sometimes eat in. There's one of the world, two of Ontario, one of Rhode Island, and one of Jamaica. The map you see in the smaller desk above is the only one that didn't have a spot there, and has a beech frame that matches this furniture. I've been meaning to hang it in the office but, for now, it just hides this shelf below right that doesn't really need hiding because it's nestled in 7" below the surface of that desk, and like the Mac Pro in the corner, you can only see it if you're looking for it.
The shelf itself is from the Kobalt K-Rail system, and holds and powers a bunch of better-out-of-sight things like multiple battery chargers, the business end of MacBook adapters, and home automation devices that branch off the central command closet but work exclusively from phone apps. These include the Philips Hue Smart Hub to control lights throughout the house; the Samsung SmartThings hub to also control lights, but also door locks, plugs, and motion sensors; and the LiftMaster MyQ Gateway to control the garage doors. There is also a simple Netgear managed switch to reduce ethernet cables on this side of that wall.
I may blog about the central command closet another time – it's an On-Q panel (kind of like this one) built into the house that brings in AT&T Fiber, services pre-wired ethernet to five rooms, and holds most of the networking gear – like Ubiqiti Unifi Security Gateway and AmpliFi devices. There's nothing that special about the panel, except that it was just here… I didn't have to build it or ask for it, but it makes for a convenient place to tuck away all this equipment and cabling.
 And finally, there's a little corner of the office that can be a little more fun. I have an IKEA whiteboard that they don't sell anymore (but Wayfair has a bunch!), the "Everything Happens to Aaron" collection I talked about at the bottom of a T-SQL Tuesday post, and the flat Buck Woody courtesy Ben Weissman.
In part 3, we'll talk about the door phase. You won't believe the process involved with fitting quality sapele doors to that large, arched opening. This is the most exciting stage of this project, but it's the one that makes me sit and wait the longest.
[2020-03-22: Part 3 is now available.]


